

This walkthrough for Lost Lands 9, has all the answers you need for Task 4 and 5 in Chapter 1: Unchildlike Mischief.
Lost Lands: Stories of the First Brotherhood is a hidden objects adventure game with plenty of mini-games and puzzles, unforgettable characters, and complicated quests.
I want to keep playing and help you with the clues you need to finish all the tasks and chapters, and eventually the game.
Follow the walkthrough for Lost Lands 9 below for Task 4 and 5 of Chapter 1.
Lost Land 9 Chapter 1 Unchildlike Mischief Walkthrough
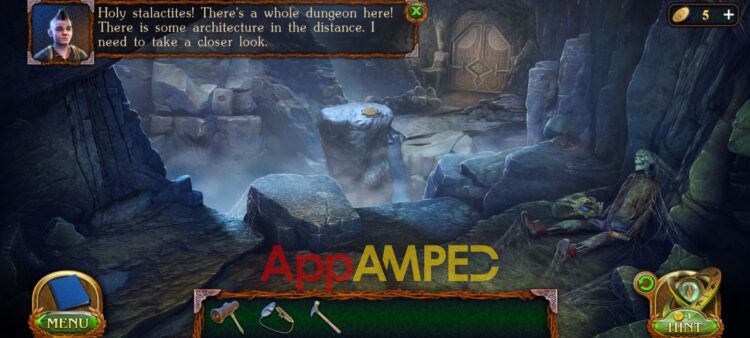
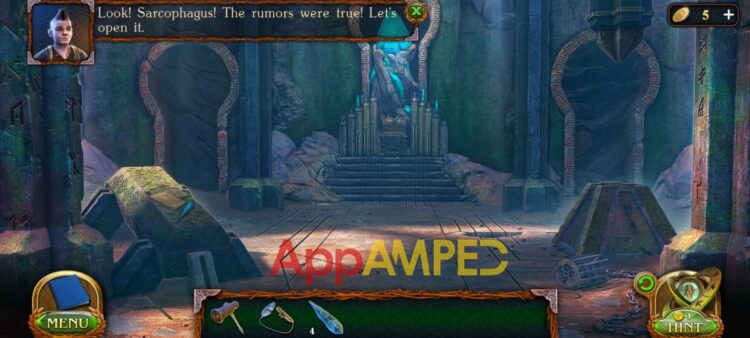
While young Folnur was skipping his school in abandoned dungeons, he found and opened an ancient sarcophagus. This is how the adventure began...
Task 4 – The Secret in the Wall
Find out what hides behind the secret passage.
- Use the hammer to break the wall further and discover the puzzle.
- Move the 7 chips to the lines corresponding to the pattern.
- You’re now able to go through the wall and check out the secrets here.
- A letter in the skeleton’s hand will tell you about the sarcophagus.
- The secret behind the wall is about the treasures you can find here.
- You can now move on to the next task.
Task 5 – Sarcophagus with Treasures
Get behind the gate and find a sarcophagus with treasures.
- Inside the skeleton’s bag, there’s a pry bar and a crystal candle.
- You need to go ahead and reach the door in the back.

- You’ll find another crystal candle in the left bowl.
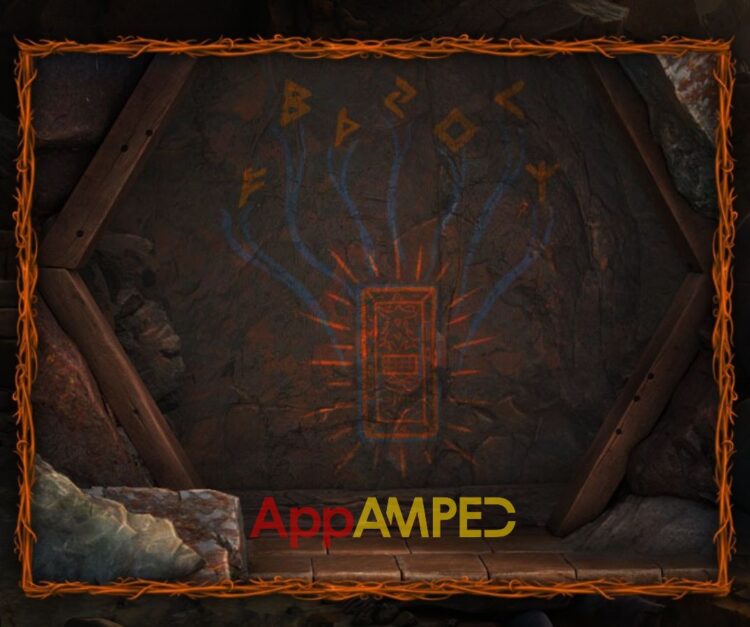
- Go outside of the shelter, where the statue head is, and use the pry bar to take out the boards covering the petroglyphs.
- Remember the runes drawn here, and the ones in the skeleton’s note.
- Take one piece of board and go to the campsite to get the cauldron.
- Fill the cauldron with water from the water through.
- Go back inside the dungeon and pour the water in the left bowl of the statue by the door.
- Now go with the cauldron and fill it with lamp oil from the wall, opposite to the skeleton.
- Pour it in the right bowl of the statue by the door.
- Use the flint to make it burn.
- Go to the skeleton and use the board to reach the item on the pillar ahead.
- Take the board again and put it over the gap that formed from the rock falling.
- You’ll need a longer one so go outside to get more boards and nails.
- Put all the boards together, secure with the nails, and use the hammer to make it safe.
- Now you can go over the gap and to the door and use the ancient seal on the door.
- The note on the skeleton will help you here.
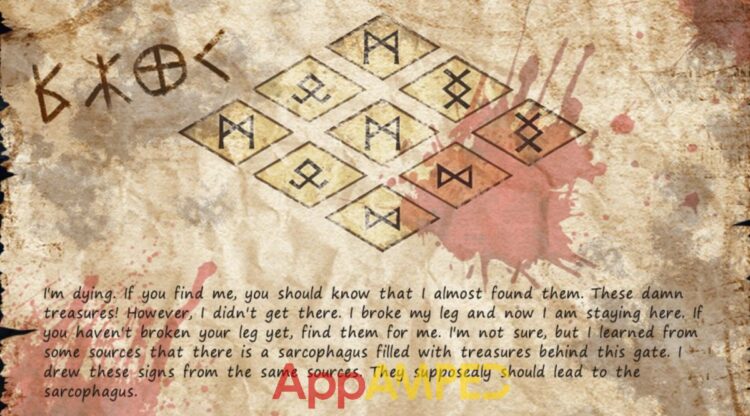
- Go with it at the door and use it move the runes to position according to the hint.
- Go through the doors and look around.
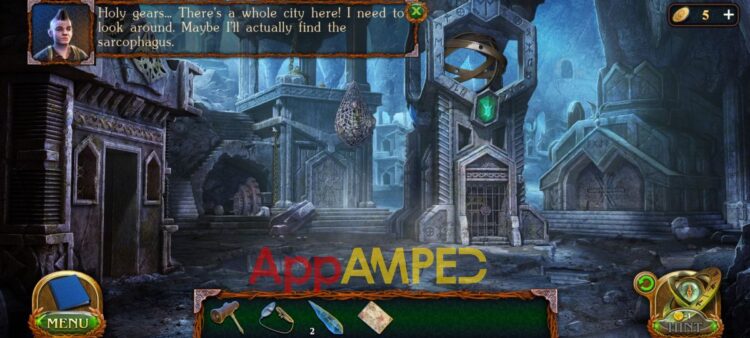
- Next to the door of the building in the far right, there’s a shaft lock.
- Look at the big gear in the back and fix the mechanism with the shaft lock.
- Behind a rock next to the gear there’s another crystal candle.
- Check the bell on the top of the building and take the broken connector.
- Enter the building on the left.
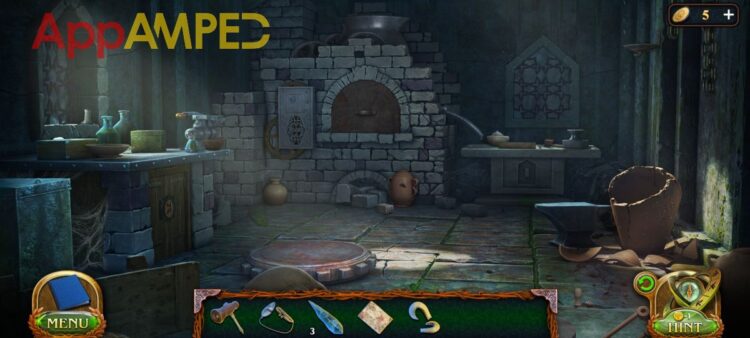
- Use the broken connector to forge a new part.
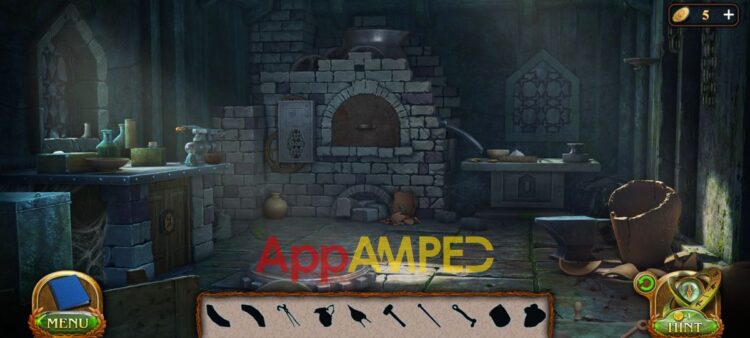
- Go to the table next to the oven.
- Use the scoop to dig out the old plaster.
- Put the wooden board on the box and fix it with the brick.
- Put the plaster powder in the box.
- Check the big vase on the right and use the water carafe next to it to get some water.
- You’ll also find a button here.
- Under the oven there’s a vase you can brake with a brick and find another button.
- Move the bricks to the side to find a hammer.
- Check inside the oven to find a lever.
- Look at the table by the window and put the lever in the vice to release the other lever.
- Check out the instructions on the box lid.
- Take the bottle with blue liquid and pour some into the bottle with two corks.
- Take the white powder, pour in the other part of the bottle, and take it with you.
- Take the coals from next to the table and go to the oven.
- Put the coals in the oven and the liquid fire to start a fire.
- Go to the table next to the oven and pour your water over the plaster powder.
- Use the spoon to stir, then put the broken connector in the mold.
- Check the cupboard under the table to the left and open it solving the puzzle.
- Put the two buttons to be able to rotate the lock.
- right – right – right
- left – right – left
- right – right – left
- left – right – left
- left – right – left – right
- Inside you’ll find the bellows.
- Go under the oven and put the bellows where the bricks used to be.
- Use the lever on the panel on the left of the oven and metal will pour in your mold.
- Take the molded connector with the pincers and go to the anvil on the right.
- Put it in the water then use the hammer to finish up the connector.
- Put the connector on the bell, where you found the broken one.
- Go to the gear so it pulls the bell up and take the hourglass figurine from underneath and another crystal candle.
- Use the hourglass figurine on the gates of the clock building.
- Here’s another puzzle for you to solve, yours might look different than mine though.
- Now check the clock tower door and put the treasure hunter’s note on the door to open the lock.
- The symbols in the top left corner are the clues for your lock and enter the room.
- Take the crystal candle from the sarcophagus and look at the manuscript about Kingdom of Gort.
- On the right side there’s a rock decoration and next to it another crystal candle.
- Go up the stairs to the book and take the last crystal candle (7/7)
- Put them on the stands on each side of the book.
- You’ll get a quill, and you need to sketch the runes you saw outside the shelter, that were blocked by wooden boards.
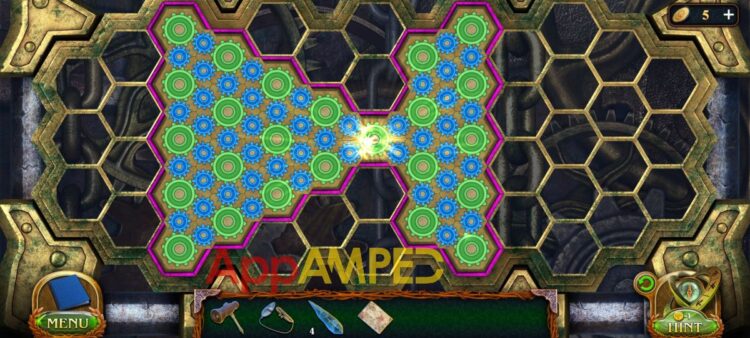
- Now go check the sarcophagus and solve another puzzle.
- Rotate the plates to power all lines with energy.

- You find a beautiful dagger inside and can move on to your next task.
Wrapping up
With so many twists and plots, it’s hard for one to not get hooked to the game, and want to play it all the time.
If you want to stick around, check out more articles with walkthroughs for Lost Lands 9 Stories of the First Brotherhood.
You might want to check out these articles as well:
- Lost Lands 9 Walkthrough Chapter 1 – Unchildlike Mischief [Task 1 and 2]
- Lost Lands 9 Walkthrough Chapter 1 – Unchildlike Mischief [Task 3]
- Lost Lands 9 Walkthrough Chapter 1 – Unchildlike Mischief [Task 6]
- Lost Lands 8 – Sand Captivity Walkthrough Part 1
- Lost Lands 8 – Sand Captivity Walkthrough Part 2

Aylin is a content creator and co-founder of App Amped. She was a huge Tomb Raider fan before moving on to more casual titles. She spent way too much time tending for her FarmVille farm as well as playing text-based browser games. Now she plays and writes about mobile games, creating in-depth walkthroughs and useful guides.