

It’s time to pick up where we left off with the Lost Lands 8: Sand Captivity walkthrough in the previous article and continue our adventure. I will keep guiding your way through every story and puzzle you need to solve.
The previous article was getting too long and difficult to read, so here we are today with part 2 of the full Lost Lands 8 walkthrough!
Grab your phone, settle down, and plunge back into the world of Lost Lands 8 – Sand Captivity with the part 2 walkthrough where I can teach you all the tips and tricks you need to succeed.
Lost Lands 8 Sand Captivity Walkthrough
- There’s a collectible boot on the right.
- And a morphing egg above that.
- You’ll see you can’t reach certain places.
- Go to Fugo island with a tree.
- Use the knife to cut off the bridge.
- Then use the knife again to make a ladder out of the bridge.
- Go back to the academy.
- Use the set of figures on the centerpiece in the middle of the yard.
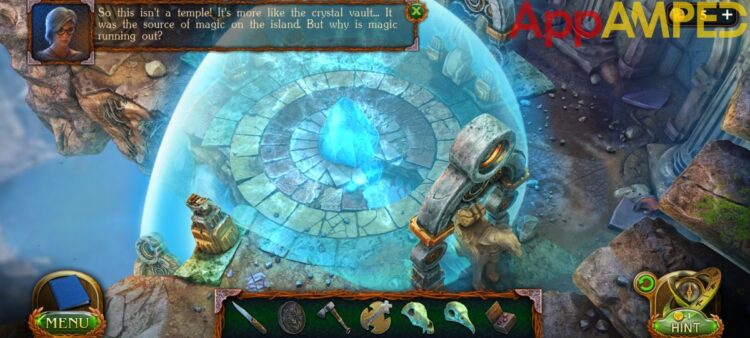
- Solve the hidden objects game on the twirling sphere to find a horse skull.
- Go to the ruined city where you go with the flying turtle.
- Check out the magic well.
- Next to it on the top is another skull you’ll need, the snake skull.
- Go back to the well and use the ladder on the left to reach the other statue.
- Remove all the tops of each head from the statues and place each skull to match the statue.
- You can now reach the crystal and take a piece of it.
- Go to the well where you found the snake skull and go check the lake in the back.
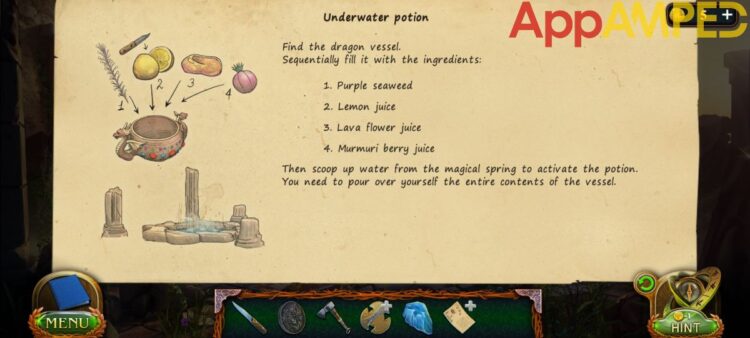
- You’ll get an Underwater potion recipe from the beaver.
- You can find the purple seaweed right at the lake, also a box with numbers.
- The murmuri berry is the little tree that is on the edge of the Fugo island, pick up some.
- Get your lemon from the greenhouse back at the Academy of Magicians.
- Lava flower juice is found inside Maaron’s house by the window.
- Go to Maaron’s clock above the fireplace and use the box with numbers for it.
- It will open a cupboard to the side where you’ll find the Dragon vessel you need to make the Underwater potion.
- Go to the magical spring near the lake.
- Put all the ingredients into the recipe first starting with the dragon vessel.
- Follow the right order: Purple seaweed, Lemon juice (cut it with a knife first), Lava flower juice, and Murmuri berry juice.
- Now scoop some water from the magic well with your dragon vessel and she’ll be able to swim to the bottom of the lake to find the crystal.
- You need to go back to the Academy’s library to look for information about the crystal.
- Go to the Department of Crystals and Artifacts, the second part, with a diamond icon.
- Check the scroll and it’ll point at no. 6 row.
- You’ll learn what you need to do in order to lower the island.
- You’ll need to go to the goblin in the yard to tell you where the ritual room is and how to get there.
- He’ll give you a carabiner you need to use on the mechanism next to the library door.
- Tap the handle to open the window shutters and check the pattern it lights on the floor.
- Use the emblem in your inventory here to solve this and find the differences.
- Tap the center of the well. There’s a key next to the crystal in the front.
- Take the key to the library, on the glass dome next to the scroll pedestal.
- Solve the puzzle and find the missing pieces, and put them back.
- It will give you a signet.
- Go with it in Maaron’s office to the closed cabinet and open it.
- Solve the other lock puzzle to open the cabinet fully.
- Once you open it you can take the box with balls from inside.
- A lollipop and check out the safe box you’ll need to find a way to open it.
- Go to the greenhouse and feed the lollipop to the ants on the tree to catch some.
- Go to Maaron’s office and put the lollipop with ants in the bird’s cage.
- The bird will fly back to its cage and you can take the red ball from its neck.
- Behind Maaron’s desk, there’s the frame where you need to put the box of balls and the red ball you took from the bird.
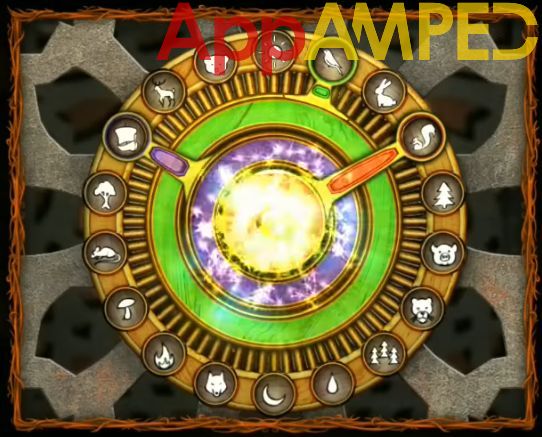
- Solve the map by putting each ball in the right place.
- With the three highlighted symbols go to the safe box in the cupboard and put the right color to the right symbol: red squirrel, purple boat, and green bird.
- When it opens you can get a plate from inside.
- Go to the Archaeological site and put the piece of diamond on one of the stones on the ground.
- Cut the rope from the crane that holds the stone up, with your knife, by clicking on the base of the crane where the rope starts.
- Go to the crystal and collect the powder left there.
- Go back to the Ritual room.
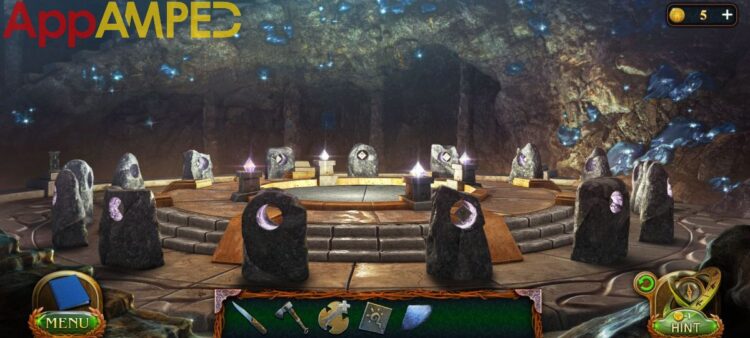
- Put the plate in the missing spot in front of you.
- After it opens up, throw the crystal powder into the water.
- The floating island can be moved back down and the crystal now while can return magic to the water creatures.
- You can now go to Darkwoods to find the centaurs.
- A horseshoe for your collection on the stones to the right next to the spring.
- Check the glowing fireflies to your left and take the sapphire there (1/5)
- There’s a morphing object in the hollow of that tree.
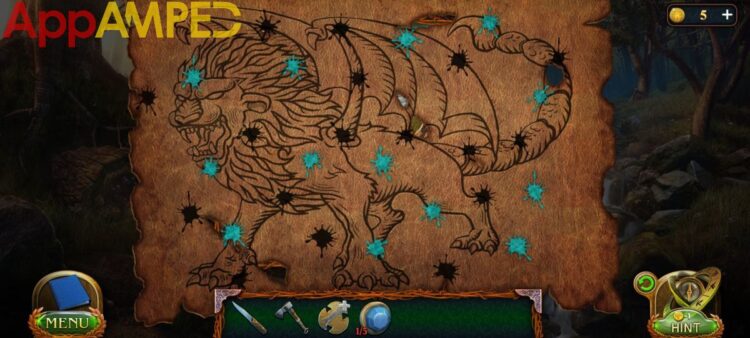
- Check the skeleton leaning on the tree trunk. It has a scroll under his arm with valuable information and a drawing you need.

- On the other side of the stream, there’s a hole you need to check out.
- There’s a sapphire you can take from above the hole (2/5)
- Click the bottom of the pile of rocks in front and move the bushes out of the way.
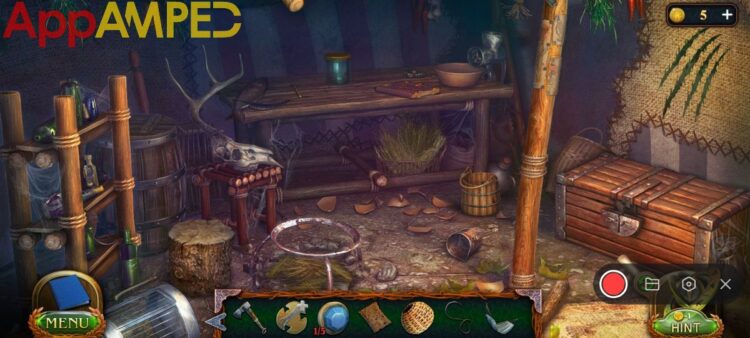
- There are lots of things inside this cave, including a boot for your collection, and a morphing object that looks like a mask, I think.
- Check the pile of treasure and remove some out of the way, and you’ll find a Tobacco of spirits.
- From the pile of bones to the right, you’ll find the hair of a centaur.
- The sarcophagus at the top will come back to open later.
- Go back to the first area and click a little to the left side of the woods, you’ll hear someone cry and need to find a way to save the little girl.
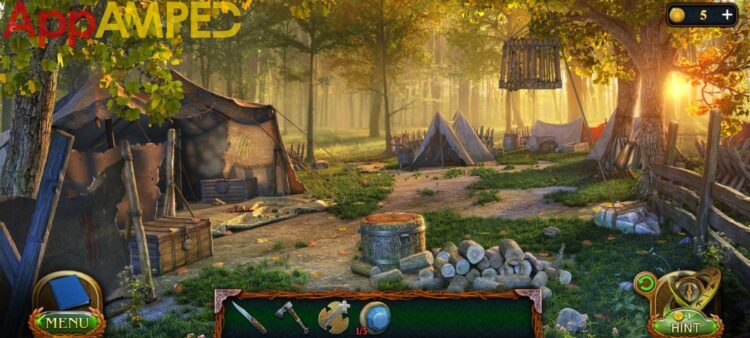
- A horseshoe right on the firewood in front of you.
- Cut down the hammock from the trees to the right and take it with you.
- Check the tent closest to your left and open up the book on the table.
- You’ll probably need this Sleep bomb recipe later.

- You’ll also find another sapphire (3/5)
- Check out the pole that holds the ten, and just remember there are some drawings here.
- Between the two tents in front, and the tent to the left, there’s a ton of leaves you can gather with the hammock, but you need something to pull them into the hammock.
- Go back to the first area where you first entered the Darkwoods and go right ahead through that clearing in front of you.
- There’s a turtle in that wood pile to the left.
- A plank can be found on the ruined bridge to the right.
- And a rake right in front of you in the swamp.
- Put the plank to the flooded house in front of you.
- You can go to the roof and open a hatch to find a supply of rum bottles, and next to the hatch there’s a bunch of mushrooms and another sapphire (4/5)
- Go with it to gather the leaves into the hammock and solve the leaves puzzle as I did:
- Put the pile of leaves under the trap and go to the rock that holds the trap up by the rope.
- Cut the rope with the knife to release the centaur girl. She’ll run, so you’ll need to figure out another way to find the centaurs.
- Go search the box she was held in and take the last sapphire (5/5)
- Go back to that cave in the stone and put your sapphires on the sarcophagus inside.
To be continued…
I’ll be updating this article with more information and puzzle solutions as I advance in the game further. Keep checking back with me to get your hands on fresh answers as soon as I write more.

Aylin is a content creator and co-founder of App Amped. She was a huge Tomb Raider fan before moving on to more casual titles. She spent way too much time tending for her FarmVille farm as well as playing text-based browser games. Now she plays and writes about mobile games, creating in-depth walkthroughs and useful guides.