
Come with me on a horrifying adventure and let me guide you through all the puzzles and games. I’ll help you finish all the chapters and reach the end.
Hidden Escape Horror Mystery is a horror mystery game where you have to solve puzzles, find hidden objects, and piece together the secrets of the house’s morbid past.
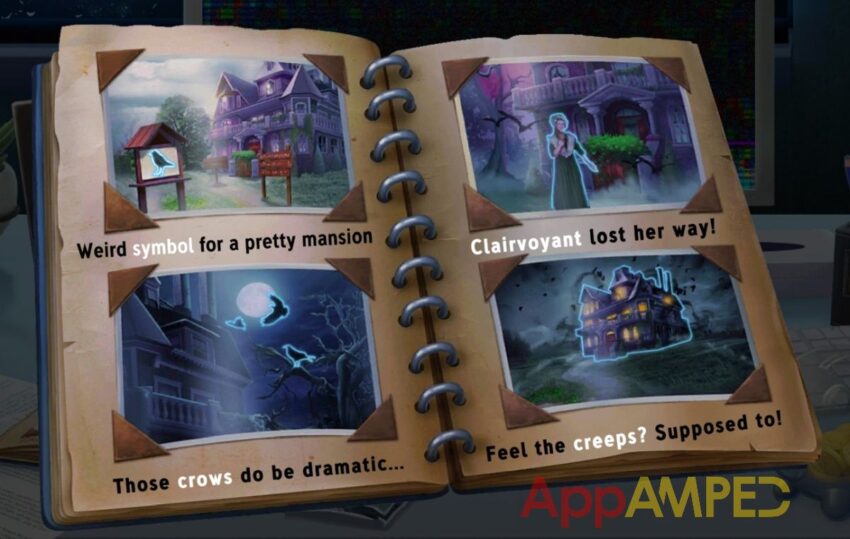
Follow Ana’s journey as she explores a decrepit, rotting mansion that has scary spooks and specters at every turn, and let me help you on this adventure.
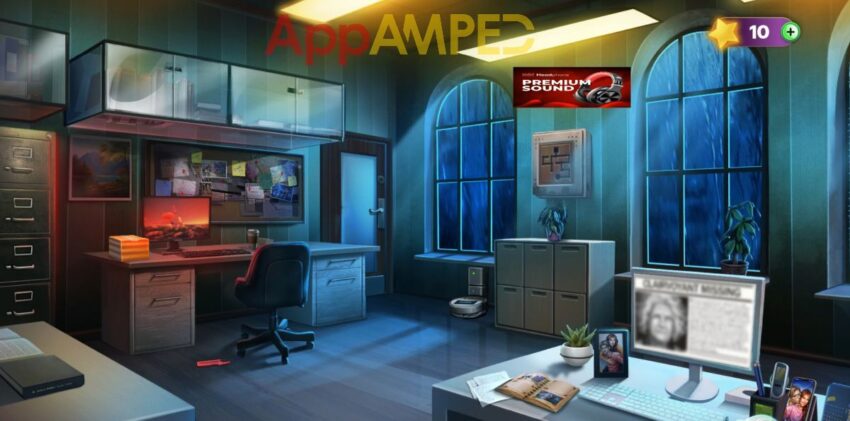
Horror Mystery: Chapter 1 – The Lure

Open the piggy bank and get a coin, then look at the remote in the pen support and get the batteries. Take a napkin from under the monitor and use it to wipe the coffee, and complete the photo album.
You’ll find 2 photos (2/5). Look closer at the keyboard and use the coin to open the side, then insert the batteries to read about the clairvoyant. Check out the alarm on the phone about opening the parcel and go find it.
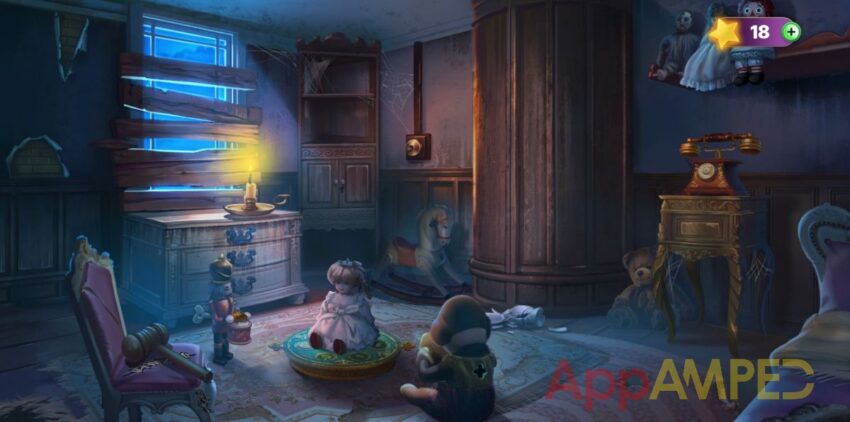
Take the bladeless cutter from under the chair and tap the cleaning robot on/off button 3 times to start it. Swipe the rectangle in the respective direction and don’t forget which color is which:
- Red – Up
- Blue – Down
- Green – Left
- Yellow – Right
You’ll find a blade inside. Use it to fix the cutter, then use that to open the parcel on the desk to your left. Take the ring and put together the photo puzzle inside the parcel to find another photo (3/5). Go through the back door to reach the breakroom.

Take the scissors from the table, then the empty cup and coffee packet from the first cupboard on the right. Look in the fridge and take the milk. Use the scissors to open the coffee then go to the coffee machine.
Put the milk in the container on the left, the coffee in the first container on the coffee machine, and the cup under the tap. Press the buttons so you make the coffee on the recipe: coffee – milk – cream.
Take the coffee cup and give it to the woman in front of the window. Take the missing blocks that fall after she leaves and go back to the office. Use the blocks on the frame between the windows and lead the circle and square block to their corresponding hole.
Take the security key and go to the break room to use it on the security lock next to the door. Recreate the pattern shown to open the door and go through and take the key on the desk, and the missing tags on the panel above.
Check out the drawer on the desk and get the gloves from there. Go back and open the drawer on the bottom with that key to find a bulb. Go back and put the boxes together to reach the broken light bulb and put the new one in.
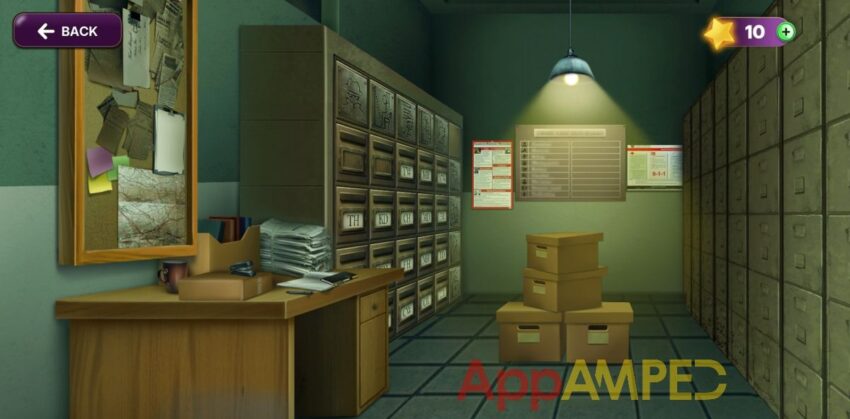
Put the missing tags on the case files on your left. Put them in the right place using the panel in front.

Look inside and take photo (4/5) and the file. Put the photos together in the album and take the last photo (5/5). Go to the office and put all the photos on the panel above the desk on the left.
Find all the letters within the pictures to find the evidence and finish the chapter.
Horror Mystery: Chapter 2 – Arrival
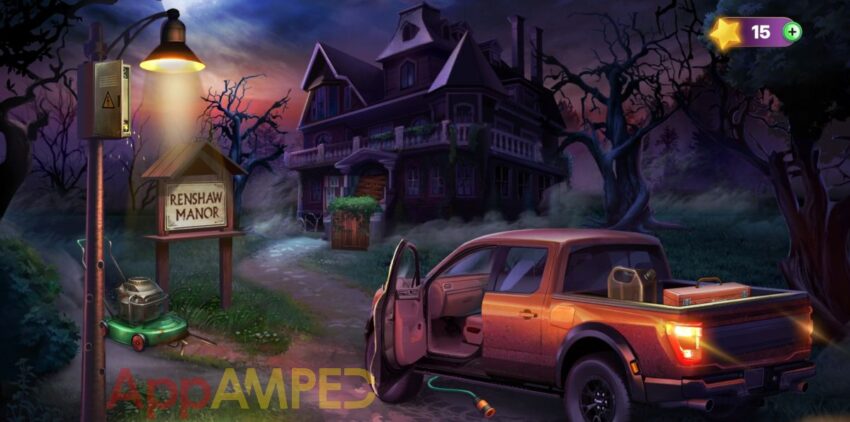
Take the empty fuel can in the back of the car, then look inside the car at the glove compartment. Open it and take the clue note and the gloves. Put the clue note on the tool box in the back and follow the clues to find the code 5317 and use it to open it.
Take the wrench, the cutter, and the drilling machine. Use the cutter to cu the hose under the car and put it on the fuel tank, then put the tank there to fill it with gas.
Go to the lawnmower and put the fuel in the tank, turn the button to start it, then take the blades, the pole steps, and the motor. Put the steps on the electric pole, use the gloves to open the electric panel then untangle the wires.

Go to the Manor’s gate and find a way to cut through the poison ivy.
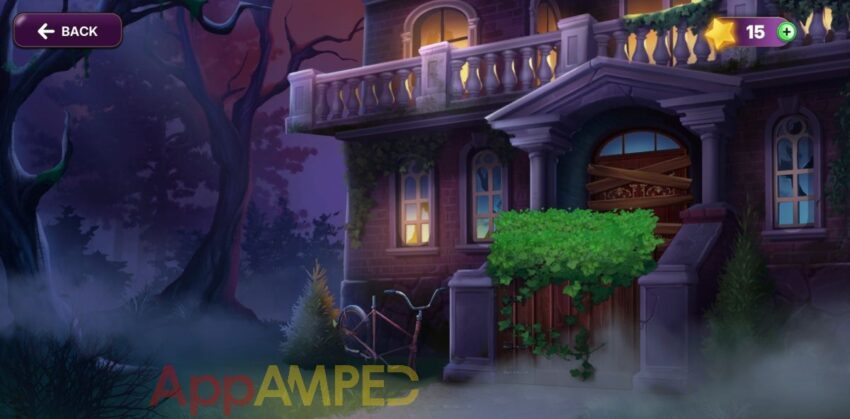
Look at the broken bike and use the wrench to take the iron rod and the handle. Put the iron rod, the handle, the motor, and the blade together to make a plant cutter. Use that on the poison ivy, then find the correct combination to open the gate.
Go to the door and use the drill to take the wood boards out of the way and take the screws and the planks. Enter the manor to explore.
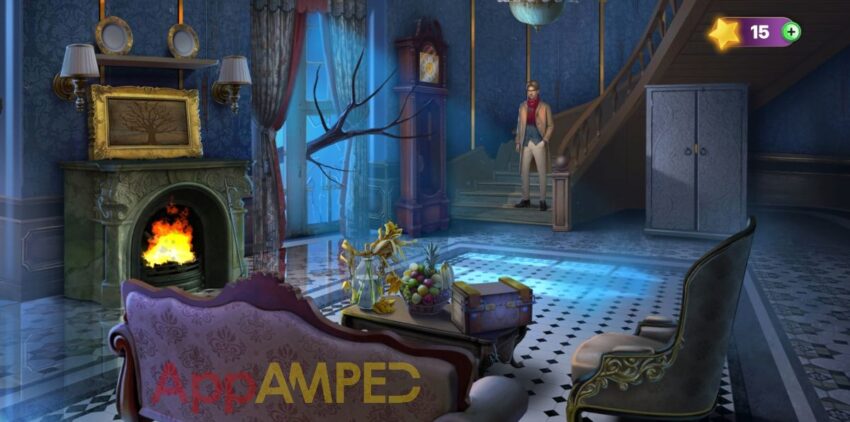
Take the vase from under the dead plants on the coffee table. Take the fireplace hook and cut up the tree in the window with the plant cutter to get the twigs.
Use the vase to put out the fire, use the hook to get the book from the fireplace. Take the candles after the chandelier falls. Go to the hole in the stairs and fix it with the planks, screws, and drill, and go up the stairs. Pull the ropes in this order:
- 5 – 3 – 6 – 2 – 8 – 4 – 1
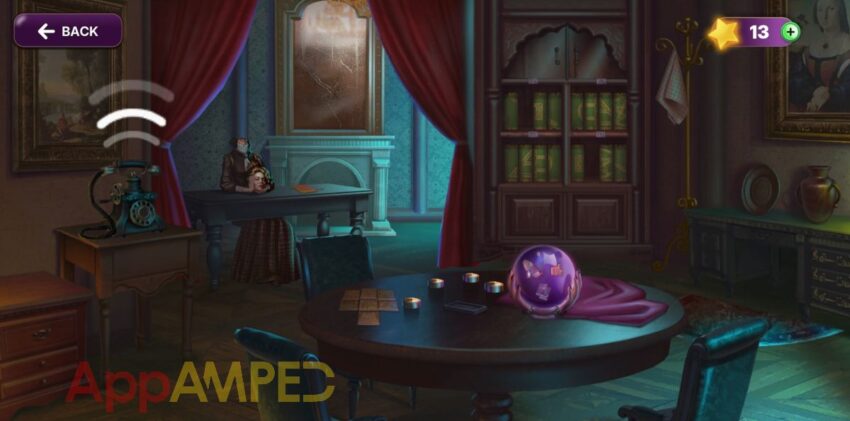
After you answer the phone and talk to the lady she’ll give you a note and ruler. Take the cleaning cloth from the hanger on the right. Look at the magic orb on the table to know what you need to look for.
Go back to the living room, use the cloth to wipe the tree painting on the fireplace, use the twigs to put the tree back together, then tap the painting and arrange the pieces to form an image.
In the painting you’ll find clock hands and remember the time 06:25. Go to the grandfather clock and put the hands back then set the time to 06:25. Now match symbols on the gears of the clock.
Take the gears and use the ruler to open the closet here. Now find the highlighted items on the note. You’ll get the summoning items and then you can use the gears on the chest on the table.
You’ll find some books inside after you put the gear tower in the middle. Go to the library, put the books on the bookshelf, and arrange them to form the symbol above each section to get the cards.
Put the three items next to the magic orb: candles + summoning items + cards, then look at the cards and pick the one the riddle is about:
- When I blind you, all you see is blazing scarlet. – anger
- With me, you have the freedom to grieve. – sorrow
- I’m a burden, as long as you hide me. – guilt
- I am power, both mentally and physically. – strength
- I feel, and then with righteous furry I strike back. – vengeance
- Weak as a sting or as powerful as death’s clutch, I torment. – pain
- Wants, needs, desires. I will have them all. – greed
- For all things deemed unfair, I come forth. – resentment
- Feed me, and you will never achieve your dreams. – fear
Look at the Ouija board on the table and find all the letters for the sentence on the board in the order they pulsate.
Horror Mystery: Chapter 3 – Reflections

Take the cloth from the armchair, then the mirror pieces (2/3) from the floor. Look at the painting the ghost is pointing at, move the box under to get the last mirror piece (3/3).
Open the drawer on the left and take the bottle there, put the liquid on the cloth and use that to wipe the painting and remember the year 1863. Look at the locked cupboard underneath and use the code year to open it.
Take the music clue, the photo (1/3), and the knife. Use the knife to clean up the wax on the stool at the piano, and get the piano keys. Put the music clue and the keys at the piano and play the music in the correct sequence: 2-4-5-8-9-11
Take the photo (2/3) and the riddle clue (3/3). Go to the photos above the fireplace and put all the photos here. Read the riddle and arrange the photos accordingly.
- First row: Persephone – Margaret – Sheila – Duncan
- Second row: Clive – Valerie – Diana – Emily – Donald
Now take the gem and go to the painting to put it on top, then put the mirror pieces on the broken mirror. Look at the headless lady and take the compass from her mouth. Jump in after the child.
Redo the symbols you see on the compass with the symbols you have around, you need 3 symbols to complete one and you’ll get to the nursery.

Look at the gifts in the corner and use the knife to cut off the bows. Open 2 boxes at a time and match the toys in pairs of 2 and take the remaining Russian doll. Put it on the shelf above the gifts and play the game to find the ball and get the key.
Use it to open the trunk on the floor and remove all the nails from the doll before taking the pacifier, then put it on the drawer of the desk. Sort the gems and ring to unlock it.
Take the celotape and use it to fix the broken diary on the floor, put the drawings back together. Talk to the girl and find out if she’s lying or telling the truth:
- My favorite colour is green: bluff
- My nanny ‘stuck’ my teddy to the wall: bluff
- There is a horse in the nursery room: insightful
- When I’m bored I like to draw on the walls: bluff
- My blind father used to play the piano: insightful
- My name is Sheila Fenwick: insightful
Take the voice box and go back through the mirror, then give it back to the headless lady. In the battle you need to tap the symbols that match the ones displayed on the compass within the time limit. Now you can go through the big mirror.
Horror Mystery: Chapter 4 – Innocence
Look on the cabinet under the window and take the glass shard, then use it to cut the ribbon tied to the drawer and look inside. Take the candle and the matchbox. Put the candle in the candle holder and light it up using the matchbox.
Take the butter knife off the floor. Now look in the drawer again and move the stuff around to find a coin (1/$00 and a switch cap. Go to the light switch and use the knife to fix the screws then put the cap on to turn on the lights.
Take the hammer from the chair, then use the knife to cut the stitches and get another coin (2/4). Use the hammer on the toy soldier, take the coin (3/4) and the toy key. Use the toy key on the other toy to get a last coin (4/4).
Remove the doll from the plate on the floor and use all 4 coins to play the game. Put all the coins in their space. You’ll find a photo with Sheila’s birth year 1859 and a key. Use the key to open the cupboard in the corner.
Look closer, take the mini sword and use it to remove the cobwebs. Take the cloth and look at the puzzle toy to solve it. The answers for the riddles will give you the correct order for the symbols:
- Walk on the living, they don’t even mumble. But walk on the dead, they mutter and grumble. What are they? – leaf
- A thing that eats without mouth or maw, yet trees and beasts are its daily bread. Well fed it thrives, but give it water and you’ll do it dead. – fire
- Who is sister to the sun, though made for night? The fire causes her tear to fall, and when she is near to death they cut of her head. – candle
- What speaks in all language known to man, and its mouth spits the poison of life or death? It is silent as it rests, as still as a gravestone. – pen and paper
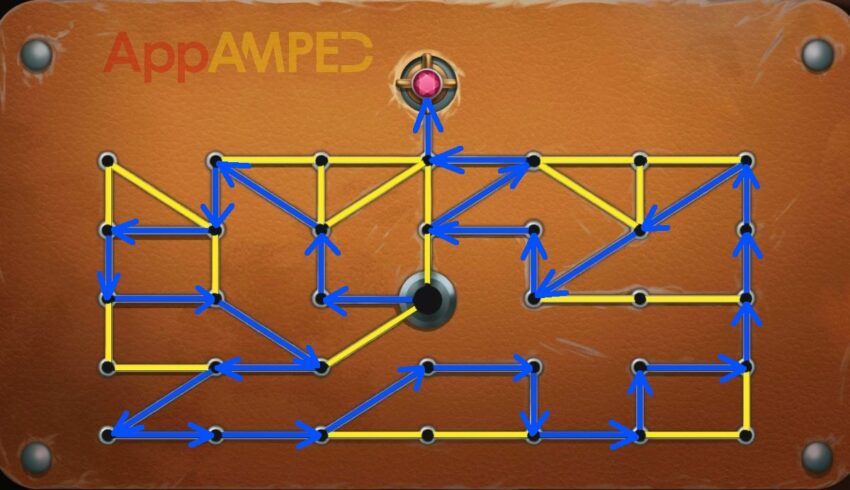
Take the briefcase key and use the cloth to wipe the box next to this, then put the key here. Fill the grid with blue and yellow lights to open it.
Take the femur and use the hammer to break it in half. Go to the phone and dial 1859 first. After the closet opens, use the femur to pry the kitchen elevator open, get inside and go down to the kitchen. Tap the little girl and arrange the puzzle.
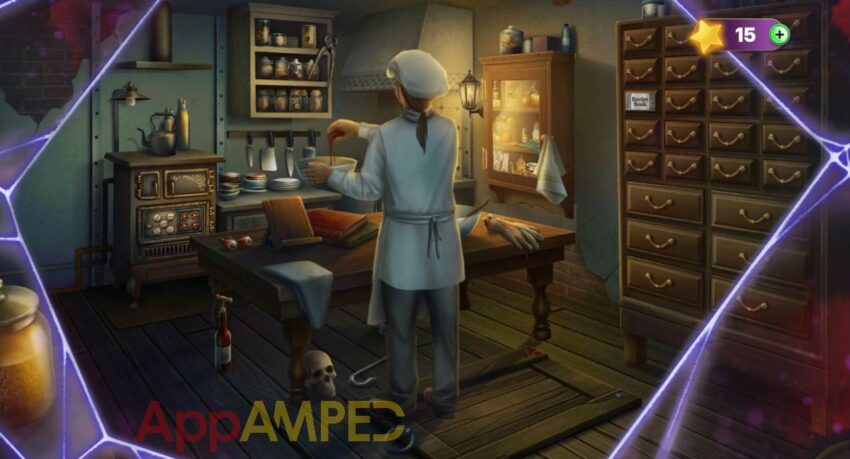
Now you can explore the kitchen and find out more.

Take the tongs above the oven and the corkscrew from the bottle. The crowbar from the floor and the spoon on the table. Use the corkscrew to open the cabinet on the right and take the apple sauce jar (1/6), vanilla bottle(2/6), the hazelnut jar (3/6), and the ring.
Look at the drawers on the right and solve the puzzle to push in all the drawers to find the recipe book. Use the spoon to open the cookie jar on the left so that the girl is distracted.
Use the crowbar to open the trap door in the floor, then go into the basement and turn on the lights.

Take the lamp, remove the bag and open the cupboard to get the butter. Use the tong to pull the nails from the wooden boards and open the other cupboard. Pull the green bottle over the rat to make it leave.
Take the sugar jar (4/6) and the cocoa powder. Grab the scoop from under the cupboard and use it to get some flour (5/6) from the bag on the shelf. Use the matches to light up the lamp, now go back to the kitchen.
Put the recipe book on the table and put the lamp over the pages until you can see the recipes. Go to the pan on the stove and put the butter in then add the cocoa to get the chocolate (6/6).
Put the ingredients on the table and look at the recipe to follow the steps and make a pie:
- Flour
- Apple sauce
- Vanilla
- Sugar
- Chocolate
- Hazelnuts
Mix them, put it in the pie tray, then open the oven and put it inside. Tap the knobs until all needles point to red.
- tap the 2nd knob (top right corner) until the dial on the bottom left is to the red
- tap the 3rd knob (bottom left corner) until the dial on the bottom right is on the red
- tap the 1st knob (top left corner) until the middle and top right dial are on red
- tap the 4th knob (bottom right corner) until the 1st dial goes to red
Take the hazelnut pie to the girl in the basement. Now look at the locked door and use the ring to get the code 47612 you need to open the door. Take the crayon sticks and go through the door Sheila drawn for you.
Horror Mystery: Chapter 5 – Loss
Horror Mystery: Chapter 6 – Sanctuary
Horror Mystery: Chapter 7 – Revelations
Horror Mystery: Chapter 8 – The Deep
To be continued…

Aylin is a content creator and co-founder of App Amped. She was a huge Tomb Raider fan before moving on to more casual titles. She spent way too much time tending for her FarmVille farm as well as playing text-based browser games. Now she plays and writes about mobile games, creating in-depth walkthroughs and useful guides.