
These are all the answers for The Birdcage 3 Pharaoh’s Steps chapter 1. Make sure you don’t miss any steps of my walkthrough so you are able to finish it fast.
The Birdcage 3 Pharaoh’s Steps is an escape game where you’ll solve intricate riddles, and crack codes to set the birds free.
After the initial tutorial, you’ll be able to solve the puzzles on your own. So follow the walkthrough below if you need help with that.
The Birdcage 3 Pharaoh’s Steps Level 1 Walkthrough

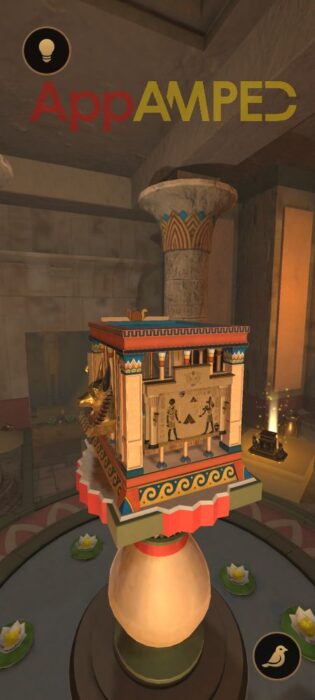
- Go behind the birdcage to the house-shaped chest.
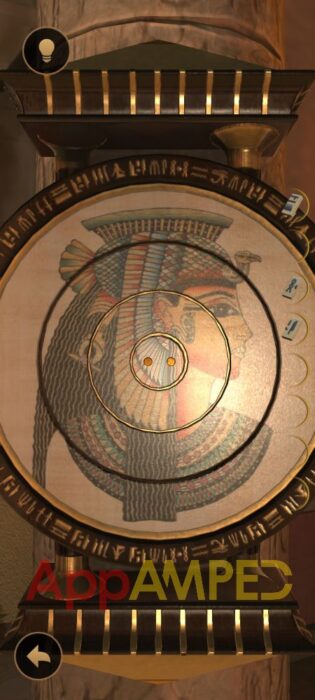
- Rotate the dials so the red dots are directed toward the yellow dots on the box.

- Take the little rind from inside and go to the cage.
- On one of the sides of the birdcage there’s a missing spot where the ring should go.
- Switch to the bird view and look at the piece of paper on the bottom of the cage.
- Remember those symbols, go back to the human view and to the device on the side.
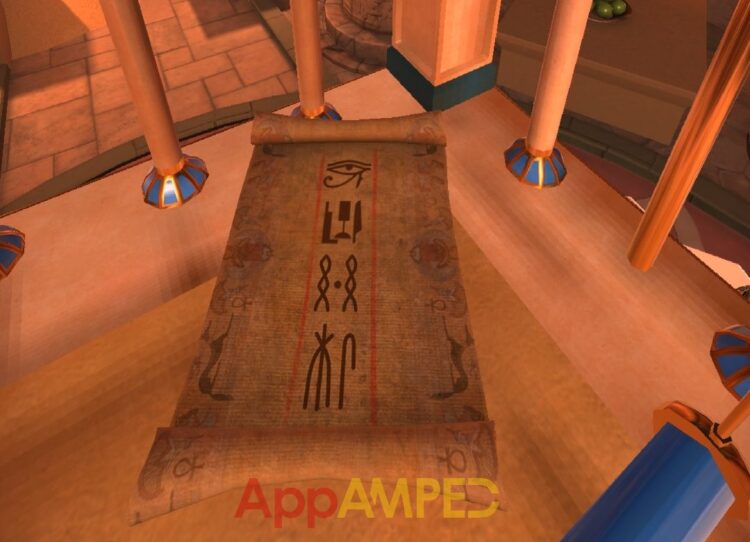
- Pick those symbols in that order to get a key.
- Use the key to open the cage and free the bird.
The Birdcage 3 Pharaoh’s Steps Level 2 Walkthrough
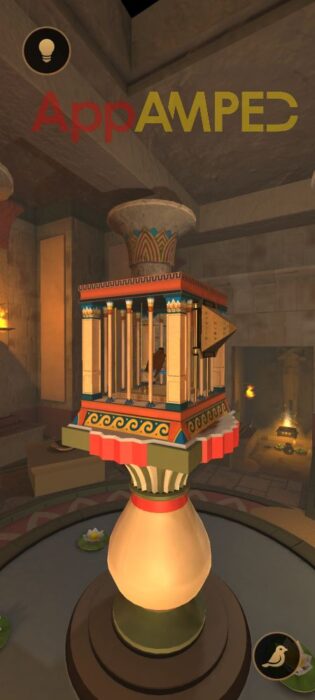
- Look at the pyramid on the side of the cage.
- Rotate the 4 parts of the pyramid so each middle row has the same symbol.
- Take the ruby and switch to bird view.
- Take the serpent head cane from inside the cage.
- Insert the cane into the hole to the left of the cage’s door.
- Pull both levers down on each side.
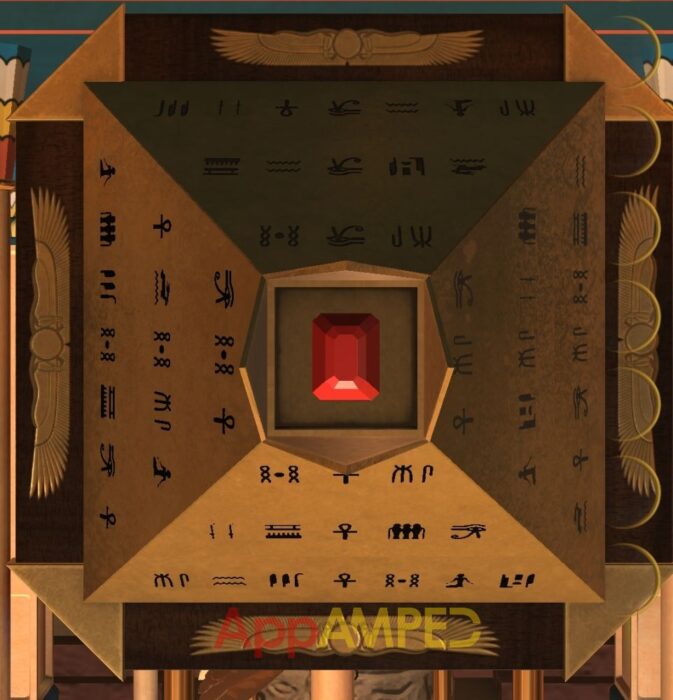
- Go down the stairs to the statue and put the ruby at its feat.
- Press them in the order of the number on symbols: 1-2-3
- Take the key and use it on the door to free the bird.
The Birdcage 3 Pharaoh’s Steps Level 3 Walkthrough

- On the side of the cage you’ll find a hexagon box.
- Pull the nub around and take the small pyramid.
- Look at the pharao’s head decoration and put all the pieces in order:
- The head decoration
- The ear
- And the neck piece
- You’ll find another small pyramid inside.
- Check the bird view and move the little carpet, from inside the cage, to the side.
- Take the blue scarab.
- Use it on the glowing chest on the side of the room.
- Press the blue buttons on the left followed by their matching symbol on the right.
- Here you’ll find the third pyramid.
- Put all three pyramids in their spots on the side of the cage and take the key.
- Use the key to open the birdcage and free the bird.
The Birdcage 3 Pharaoh’s Steps Level 4 Walkthrough

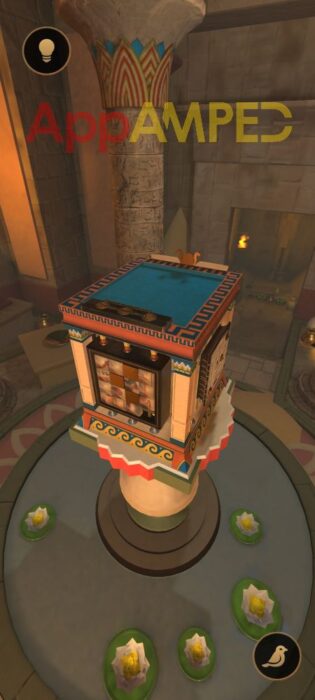
- Go to the round device on the side of the cage, with the three disks.
- Turn the disks to make the picture on them connect with one another.

- Take the half bird head from inside and remember the symbols on the circle around.
- On the other side of the cage, there’s a box with different symbols on, press them in this order:
- 1 – 4 – 7 – 8
- You’ll find a half ram head inside.
- Another horned head is next to the statues around the room.
- Switch to bird view and take the staff from inside.
- Look on top of the birdcage and put the staff there.
- Turn the disk to open up and take the last human head.
- The statues around match the heads you found, so put each one in its place.
- Each statue will turn and show you a number:
- Ram head: I
- Human head: II
- Horned head: III
- Bird head: IIII
- Go to the box in the back and press the heads in that order.
- Take the key and open the birdcage.
The Birdcage 3 Pharaoh’s Steps Level 5 Walkthrough
- On the right side of the cage’s door, there’s a little drawer.
- Take the pharaoh’s staff from inside.
- Check out the head decoration on the cage and press the buttons in this order:
- 4th – 3rd – 1st – 2nd
- Take the scarab decoration.
- Next to the cage there’s a box with two cat statues next to it.
- To the right of the box there’s half of a blue chip.
- Put it on the lock on the box to open it.
- Take the vase from inside.
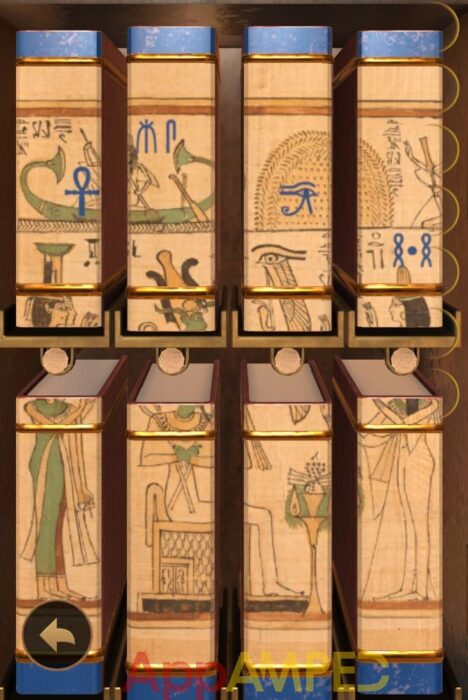
- There’s a representation of pharaoh drawings on the cage.
- Put the vase on that and go check the bird view, to look at this from inside the cage.
- Bring the two vases together in the middle and the big pyramid under the small pyramid.
- You’ll find another scarab.
- There’s a tomb on one side of the room.
- Put the staff here and take the book.
- There’s a chest you haven’t opened yet with books inside.
- Put your book on the shelf and arrange the drawing on the back, by switching them around, to make it whole.
- Check the last device on the cage and put the two scarabs here.
- Next to it there’s a little drawer you can open and you’ll find a small tail.
- Take it to the golden statue, holding a cross, and put the tail back.
- Take the cross and go to the table with the minigame to put it on.
- Press the arrows in this order to make the cross move across the board:
- left – left – up – left – left – up – right – right
- Go to the scarabs and put the last one here.
- To solve the minigame you need to press their wings and remember the symbols then find a match of the same symbol under another wing.
- Here you’ll find the key and be able to open the birdcage.
The Birdcage 3 Pharaoh’s Steps Level 6 Walkthrough
- Start with the drawer next to the door and take the puzzle piece.
- Look around the birdcage to find another little door and open it.
- Take the pyramid inside and put it on the minigame next to this drawer.
- Drag the mummy around the board to reach its spot.
- Take the other puzzle piece.
- The mini painting on the cage, that is made of pieces, needs to be put together.
- Switch to bird view and turn the 3 rogue pieces around.
- Switch back to human, and switch the pieces between themselves to put the image back together.
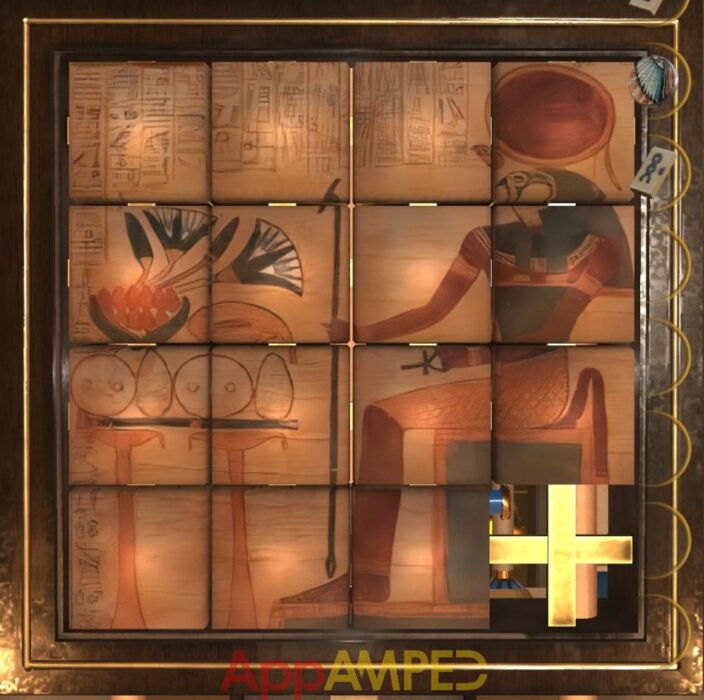
- You’ll find another puzzle piece.
- There’s a small scarab decoration on the stone chair.
- Open its wings to get a round decoration.
- Put it on the last item that’s glowing and solve the puzzle by turning each part of the circle.
- Take the last puzzle piece and go back to the cage.
- Take all 4 puzzle pieces to the last game on the cage and put the symbols together.
- On top of the cage there’s a small box, if you open it you’ll find the order in which you need to put the pieces.
- Here you’ll find the last key of this chapter., so go free the bird.
Wrapping up
These are all the levels of The Birdcage 3 Pharaoh’s Steps Chapter 1, and you have all the answers you need to finish it.
If you still haven’t had enough of this game, there are more to come. Just check back here for more walkthroughs.
Other articles you might enjoy:
- Boxes – Lost Fragments Walkthrough Chapter 1 Part 1
- Tiny Room Stories: Town Mystery Walkthrough [Chapter 1]

Aylin is a content creator and co-founder of App Amped. She was a huge Tomb Raider fan before moving on to more casual titles. She spent way too much time tending for her FarmVille farm as well as playing text-based browser games. Now she plays and writes about mobile games, creating in-depth walkthroughs and useful guides.