
Discover the story in this amazing puzzle adventure game and follow my lead to solve all the puzzle and mysteries in True Treasure – Immortal Love.
Step into a detective world of puzzle adventure, hidden objects and murder mystery games. This walkthrough will help you move along faster and you’ll be able to really enjoy the game.
True Treasure Mystery Walkthrough
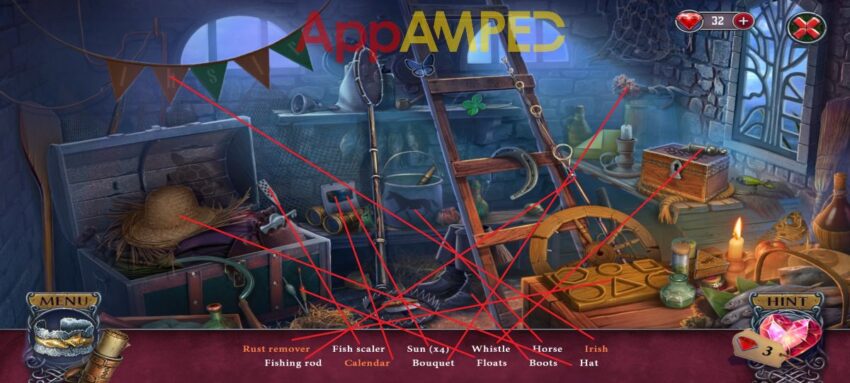
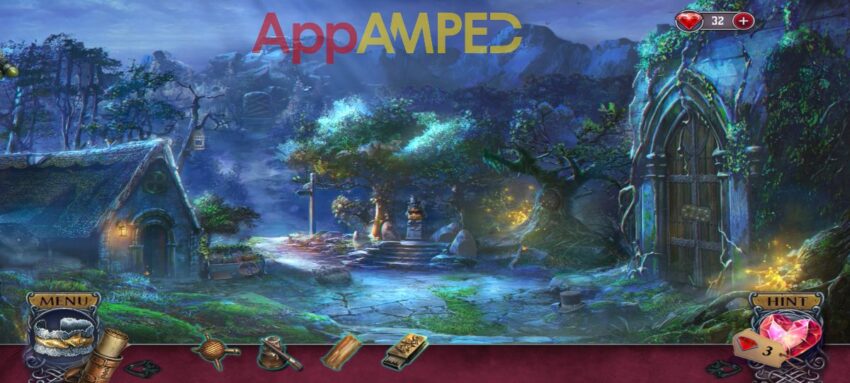
Your first task is to give your mother the medicine she needs to get better. Take the clover part from her hand then go back to look around the room by pressing the X in the top right corner.

Look on the desk and take the diary. Put the 4 coins in their place to open it and look through. Look at the wedding invitation, then open the envelope inside the diary and take the clover part and fox part.
On the desk there are 6 hair pins you need to find and collect. Use the pins to hold up the veil on the wedding dress and take the golden harp and coat of arms on the chest.
Go to the chest at the bottom of the bed, use the two clover parts to open it. Look at the gifts inside to find the prescription medicine. Go to the desk and put the recipe there. Open the medicine, add water from the jug and take the medicine to your mother.
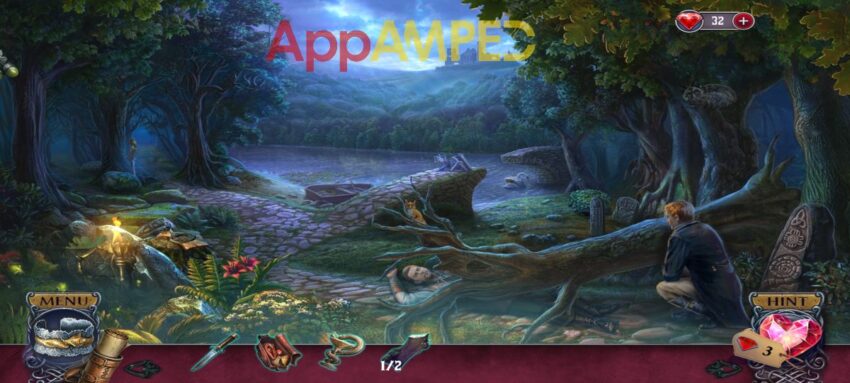
Your next task is to retrieve the fallen book. Take the lamp from the beside table and look under the bed. Use it to get a better view under. Remove the box, take the chest and the book.
Open the hatch of the lock on the chest by moving the tokens along the lines in their slots:
- bottom button
- top button
- middle button x2
- bottom button
- top button
Follow my video below if you need a visual of how I solved this puzzle:
Put the coat of arms on the cover of the book to open it and read. You’ll find a map and you can give the book back to your mother. Take the key from her and use it to open the chest.
Take the coin and the bracelet and now you have a new task, to fix it. Put the fox part on it and you’ll wear that bracelet for protection. Look out the window and jump in the hay to get out.
Talk to the organ player and he’ll give you a broken organ part that you have to fix for him. Look in the bottom right corner at the wedding announcement and take the rose.
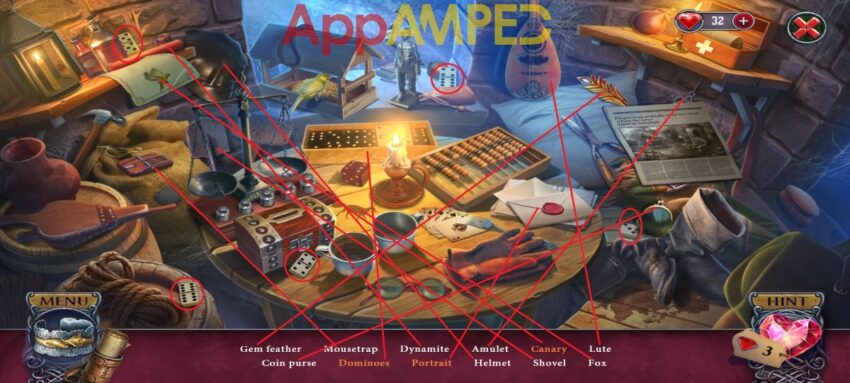
Go to the Amulet Shop and take the newspaper and a gift token. Inside the newspaper you’ll find a case inlay. Tap these 3 items in each photo to get the meal ticket.

Under the instrument pile in front of the Amulet Shop is a bag that can be opened using the golden harp.
Put the broken organ part next to the bag to the compare the parts. Move the papers to find the part that matches the one that’s broken. Give the organ part to the player and take crescent moon from Glenna.
Go to the Clothes Shop and take the jewelry case. To open it use the case inlay you found in the newspaper. There are pieces scattered inside and you need to put them in place:
- The bee on the honeycomb.
- The heart on the brooch under it.
- There’s another moth ring in the pile, it needs to go next to its pair.
- The silver piece goes on the jewelry to the far left.
- And the two flowers on the bracelet.
Now you can get the sun. Go back to the Amulet Shop and check the box in front. Put the sun and the crescent moon on the lid to get it to open. Take the tarot cards and give them to Glenna.
You’ll get a portrait card and the task to go to the tavern. So go there, take the bridle on the door before you knock. You now need to disguise yourself so they let you in. You can go to the Clothes Shop, there’s someone there to help you dress.
Give the rose to the shopkeeper than talk to him about clothes. Now find all the items on the list.
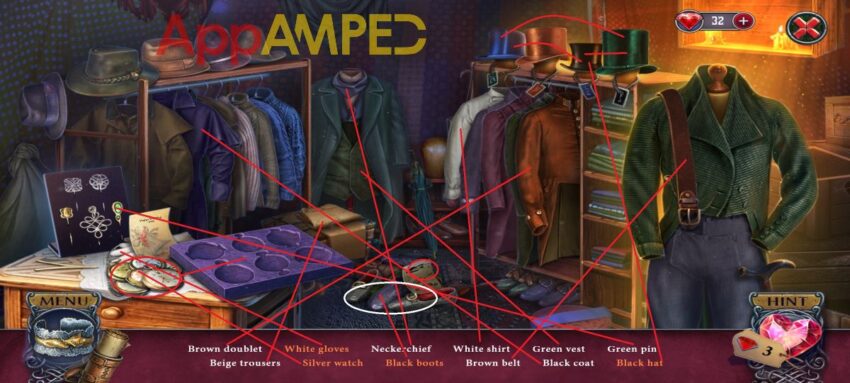
Put the watches in the case to find the silver watch. Arrange the hats to match the color tag to get the black hat. Find each pair of shoes in the pile to get the black boots.
Now that you have a complete outfit you can try again to enter the tavern. Enter the tavern and find a guide.
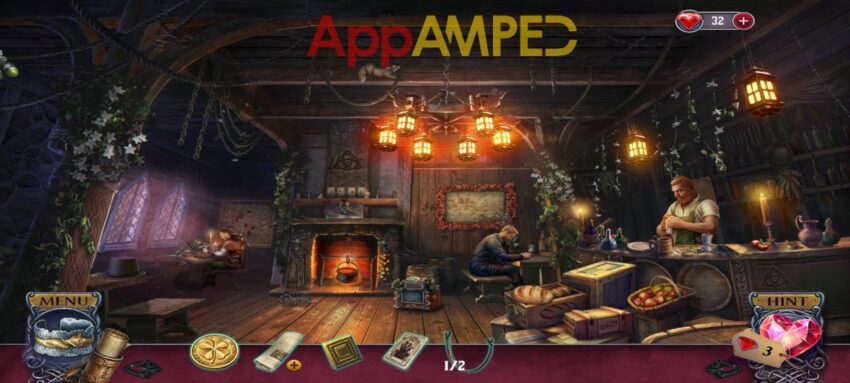
Lift the portrait card to find the man you are looking for and go talk to him. Give him the gold coin and take the bag from him. You need to collect provisions in it. Look at the table he was sitting at. The paper there shows how the figurines should look like.
Use the knife to sculpt the piece of wood. Now look in front of the fire and take the gift box. Use the gift token to open it and take the paint set. Go to the bartender and present the meal ticket to him he’ll give you a list.
Tap the food on the right, next to the bar, open the bag., and use the list to put apples, cheese, bread and sausage in the bag. Take the jewels from the guide. Now go to the tavern keeper to talk about the horse, he’ll tell you to bring him a game.
Give him the jewels and you’ll get a fireplace inlay. Look above the fireplace at the glass case and use the inlay to open it. Take the corkscrew and use it on the paint to open them, at the table where you sculpted the banshee.
Make her dress white and the veil green and take the Banshee with you. Look at the map next to the fireplace. Use the knife to get the Merrow from the frame and put these two figurines on top of the fireplace.
Switch their spots to fit the description behind. Take the snake inlay and the game set. Give that to the tavern keeper. Play a card game with the tavern keeper after you clean up the countertop.
Play your cards to win a score of 20 or higher. The highest card wins. Make sure you have the highest card on as many sets as you can. After you win he’ll give you the bridle.
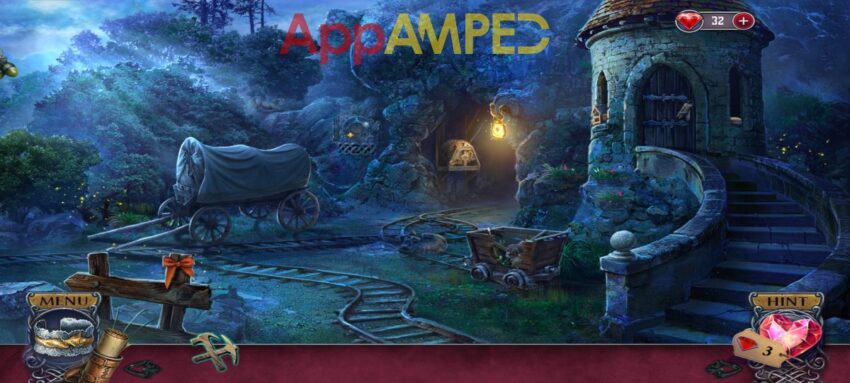
Go outside to the horse, put the bridle on it and walk into the forest. You’ll have to find 6 magic creatures in each forest clearing. Take the sign pointer (1/2) and move forward and find a way to lift the fallen tree.
Look at the pile on the broken bridge and take the winch part (1/3) wooden sticks, and the other part, the gear (2/3) from the note next to it. Use the knife to pry open the crate. Read the note inside, take the oil and the medicine kit.
Look at the tree stump on the left, use oil to take the nail out and get the horseshoe and the second road sign (2/2). Use the snake inlay to open the medicine bag and take the two first aid items.
Go to the boat near the water and take the rope (3/3). Use these 3 parts to make a winch and lift the tree up. Give the man the first aid items and take the talisman from him and a lantern from the other man.
Look at the sign on the left, take the broken pot on top, go to the boat and take some water in it, then use it on the horseshoe. You can take out all the nails and go back to the sign.
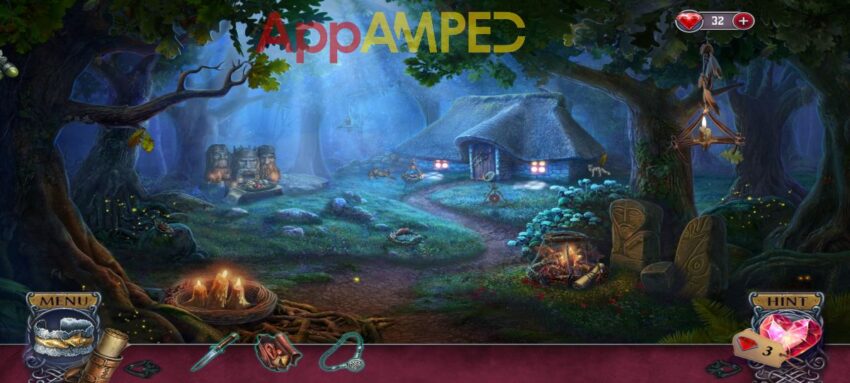
Put the lantern on the sign, put the other 2 signs on the wood and use the nails to keep in place. Now you can move ahead along the path and you’ll find the Healer’s house.
The candles on the right have 4 amulets with the body parts all scrambled. Put them right before you take the amulets with you. Now you need to travel along the lines to land on each disc and deactivate the traps.
You’ll find another amulet nest where you need to put the petals in the right spot, and another where you need to find all the crystals hidden in the leaves. One more nest with a golden flower scattered around, and one more with a wooden puzzle you need to solve.
Look at the idols on the left. Take the picture and the bowl, put the supply bag next to the offering table. Remove the rotten food and put fresh one from your bag in its place.
Go to the house, put the picture next to the wrath, and add the amulets. Put the amulets as the picture suggests:
- deer – fox
- wolf – wild boar
Give the woman the talisman from Liam. Go inside the house until the healing potion is ready and look around.
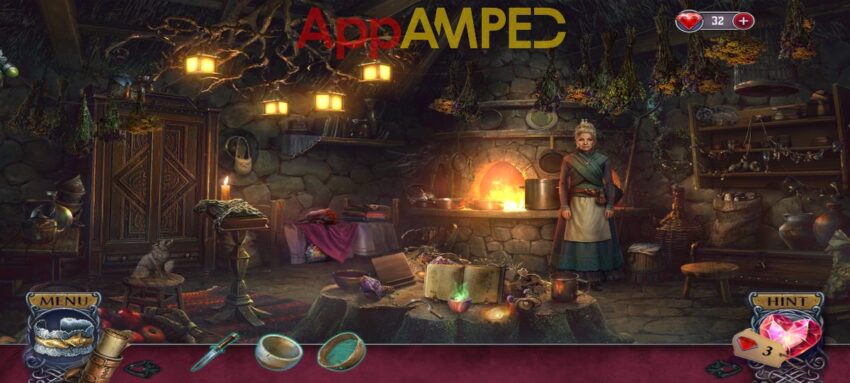
Get the recipe from the magic book and prepare a healing potion, take the key from the healer. Take the incense from the tree stump table in the middle of the room.
Look at the barrel next to the healer, take the cloth and use the ladle to get some water from it. Use the key on the magic book to open it and move all the tokens in their correct spaces to get to the recipes.
Take the instructions from inside. Now take the broom and try making a net with it, the cloth, and the sieve. Go outside and use the net to catch the pooka.
Tap the protection bracelet in the bottom left corner the switch the colors on the group of stone and arrange them so the colors do not touch. I moved the green ones twice to the left.
Tap the pooka and find all the potion ingredients it stole from the house. Go put the incense on the idols, then cut all the herbs you need, it will tell you witch in the top left corner.
Now go inside and to the tree stump table, put the instructions on the stand, the potions, the herbs, and the bottle. Cut the herbs with the sickle then sort the liquids so that each vial has only one color.
Put the herbs in the bottle, then add the potions one by one, then take it with you by the fire stove. Use the tongs to grab the plate inside the fire, pour water from the ladle, add the bottle and slide the plate inside. USe the tongs to get it out when it’s ready.
Take the healing potion to Liam. Your next task is to seal the cracks in the boat. Take the arrowhead from Liam, go to the tree trunk on the left. Put the bowl on the side and use the arrowhead to get some resin.
Use that on the bottom of the boat to fix it then take the boat on the river. You’ll end up under water, tied down by the Merrow people, so you need to free yourself.
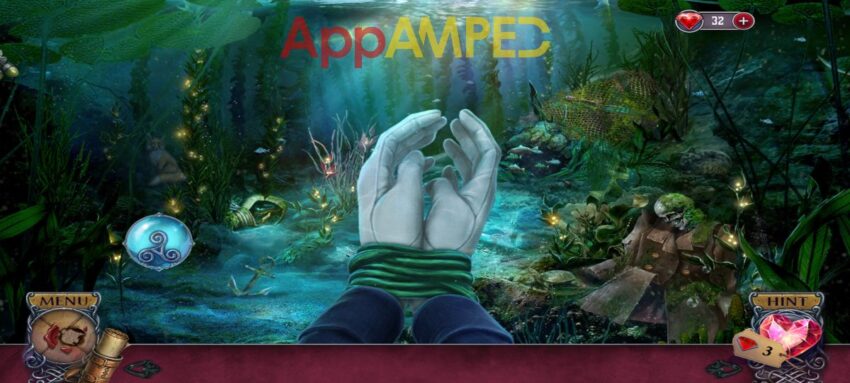
Check the coat of the skeleton and take the magnet and the hooks. Look to the left at the broken vase, use the magnet to get the arrow head. Use the arrow head on the rope.
Guide the bottom tokens to the slots above, with the torn spots on the rope you need to make a straight line so the tokens get there at the same time. Pro tip, start from the top and form the line to the bottom.
Now go up to get some air and absorb the air bubbles. Look at the net above the swimming fishes and take the fork and add the hooks to the net.
Use the net to catch some fishes. Open the net with the catch and pair up everything you find inside until you get to the clams. Go feed the crab the mollusks so you can take back your bracelet.
Use it to calm the Merrow and then go find Patrick and Liam.

Look at the dress on the right, put it on and start collecting the sticks and take the brush. Look in the puddle right in front of you, take the shell, the clasp, and go look for a special key to open the box.
On the barrel by the door there’s a book with a key. Go open that box with it and take the flint. Use the fork to pick the lock on the door and go inside to find all the objects on the list.
You’ll get a rust remover which you can use on the flint, then use the brush to clean them. Go to the fire pit next to the house. Use the sticks to build a fire, and the flint to light it up and get warm.
You’ll find Patrick and can go with him to find Liam at the waterfall.

Look in the flower in front and take the cane. Use the shell to cut some flowers. Use those to scare the spider on the left, then take the nuts, bird, and handle. Go back to the hut and use the bird to open the birdcage hanging above the fire.
Take the cane part (1/2), then go inside the hut to find more objects and you’ll get a scoop net. Go to the waterfall and use it to scoop the coat of arms (1/3) and another cane part (2/2) from the water next to the waterlily.
Put all the pieces to form a cane and use it to get to the bag on the slippery rocks. Open the bag by using the clasp and restore the image by turning the 2 rings.
Look at the book, take the green stripes, put the handles on the picks and tie them up with the stripes. Use the picks to climb the cliff to Liam. After talking to him you’ll need to find the missing pieces of the lock.
Look at the nest in the tree on the right and take the pin, rubber band, and knitting. Look at the notice board and take the slingshot, add the rubber band and nuts to it, then put the broken parts of the photo holders back together.
Go back to the nest and use the slingshot to get an apple, then give it to the deer. Look at the object that were behind the deer and find all the ones written under.
You’ll get a glove which you can use in the roses over the bridge to get the tweezers. Go back to the notice board and use them to get two pieces of coat of arms. Go to the gate, put them on, and complete the puzzle.
Talk to Patrick and Liam and find a map of the city.
Go to the fountain in the middle and take the little shield. Check out the open window on the left, take the glue, and look at the book to find the snowdrop and instructions.
Between the two buildings on the left you’ll find and axe and a scraper next to the wood. Go to the building on the right and use the pin to open window. You need to make the cracks disappear using the two rays and the mirrors, only when the rays make a + the cracks will disappear.
Take the candle from the basket. Then go back to the fountain and use the scraper to get the moss out of the way, add the snowdrop to the lid and the instructions to how to solve the puzzle.
Take the amulet (1/2) after you solve the puzzle. Now go back behind the gate and look at the items next to the notice board. Find 10 pairs .and you’ll get another amulet (2/2). Look at the rose vase on the bridge and put the little shield then take the whetstone that shows up.
Use that on the axe to sharpen it. Now go back to the city, to the window on the right and put the amulets there to find a map, give that to Liam.
Go to the fence between those two buildings and use the axe to tore it down. Talk to the two men and decide on which one to follow.
True Treasure – Immortal Love – Liam’s Route
Take the matches from Liam and look in the house on the left. Take the hammer tile and check the basket next to the house. Put the knitting tile on the basket and find the items from the picture clues.
After you find all of them you’ll get a wool. Go back inside the house, put the wool on the spinner and try fixing the handkerchief on the left. Combine and match the symbols. There are 5 symbols on each side, and I’ll put numbers from 1 to 10 from top to bottom:
- 1st symbol: 1+3+5
- 2nd symbol: 1+2+7
- 3rd symbol: 4+8+9
Take the handkerchief and check out the sign going towards the mountain. Take the lantern and fix it. Use the handkerchief to remove the broken glass, replace the candle with the one you have, light it up with the matches from Liam, and lastly use the glue to fix the glass.
Give Liam the lantern and repair the mine shaft elevator. The gear at the entrance has a crystal (1/2). Look in the cart and take the pickax and the bolts. Go up the stairs to the door, check out the newspaper and take the key, then use the hammer tile on the door and go inside.
Put the items on the bottom next to the ones they match with and you’ll find shears. Use them to cut open the fabric on the caravan. Move the front boxes 2 at a time to get to the tools and take the wrench and gears.
Go to the entrance of the mine, add the gears and the bolts and secure them with the wrench. Now you can take the elevator down in the mines.
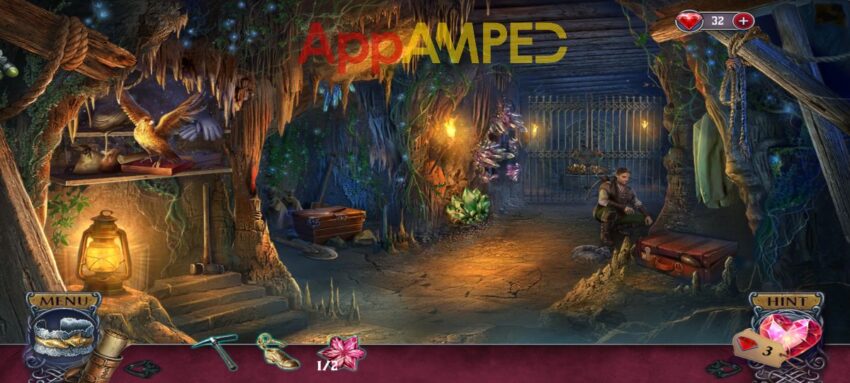
Look at the suitcase on the right, use the key to open it and take the envelope and look inside. Take the locket and gem feather (1/3). Go to the green crystals on the ground and use the pickax to get another crystal (2/2) and a fern frond.
Look at the chest and use the fern to open it. Take the gem feather (2/3) and the triangle (1/3). Now go outside and look by the entrance on the rocks. Add the 2 crystals on the circle, put all in the right place and you’ll find another triangle (2/3).
Now you can go through that door again for another hidden object game where you’ll find a final gem feather (3/3).
Now go inside and check the bird on the left. Give it all the feathers and take the last triangle (3/3). Go to the gates and fit the 3 triangles in. Now arrange them so that their gems are next to matching gems or borders.
After Liam is cursed you meet with Patrick and he’ll give you a castle door token (1/2).
True Treasure – Immortal Love – Patrick’s Route
Basically, if you picked Liam first you’ll still get here after you do Liam’s quest. If not you’ll start here with Patrick and help Liam later.
Check the area next to the house on the left and find all the items.

Get the acorn and look at the big tree with fireflies around it. Put the acorn there and rearrange them so the lines don’t intersect. You’ll find a castle door token (2/2) and a emblem inside.
Go at the door on the right and add the tokens to the door. Each token belongs to a certain owner. Once sorted you can enter through the doors, then use your bracelet to calm the Banshee.

Your new task is to find the Baron’s secret library. Make sure you light all the candles so you can see your way around.
Look at the shield on the fireplace, take the tapestry (1/2), put the emblem in and take the token. Next to the fireplace there’s a desk. Take the tapestry (2/2) and the safe, then put the feather token to open it up and look for the hidden objects.
You’ll get a quill after you finish with it. Check out the table in the middle, take the candelabra (1/2) under the papers and look at the notebook, then use the quill to write down the code 12321 on the note.
Look at the tapestry on the second floor, add the two you have then put each in their place, follow the shape behind. Take the handle and the scroll token. Use the handle on the table to open the drawer and take the tumblers.
Use those on the safe, look at the note, and write the code in. Take the trinket (1/3) and the castle plan. Give Patrick the castle plan so he can open the painting and you can find the hidden library.

Take the page Patrick gives you and learn the legend of the leprechaun’s gold from the book. Go up the stairs and put the scroll token on the door to open it. Empty the books here and take the gargoyle.
Look on the desk, take the candelabra (2/2), then look at the book stand and take the canister. Now go back to the entrance, look at the shield above the fireplace and place the gargoyle there to get the clock hands.
Look at the desk next to the fire place again and find all the items to get the chess piece.
Go to the library and use the chess piece on the chess table at the desk. The drawer will open and you’ll find a belt and a trinket (2/3) in the note.
Go to the ladder and use the candelabras and the belt to put in the missing steps so you can reach the clock. Add the clock hands and take the last trinket (3/3).
Look at the book stand and put all the trinkets here and arrange them so the bottom ones are connected with the top ones. Put the page Patrick gave you here. Find the light up words in the images shown in the book and get the emeralds.
After Patrick is grabbed you go talk to Sinead. To follow her use the emeralds into the locket and take the jewel flower from inside. Tap the leprechaun where Sinead went and add the jewel on his belly.
Follow this path:
- Go right to reach the bridge.
- Take a left behind the street light.
- Take the axe, then go back to the first path.
- Use the axe to cut the weeds and take a left where Sinead went.
- Left takes you to a broken bridge you need to fix.
- Go right at the broken bridge to find a plank (1/2).
- Then go back twice and take right to find a small pond and a plank (2/2).
- Go back again, and left to the broken bridge.
- Fix it using the planks and go over.
- Sinead’s path is now burning, take right, and right again over the bridge.
- Put the ring around the bucket, add the missing wood pieces and take it with you.
- Go back, then left to the pond.
- Fill the bucket with water, then back twice.
- Use the water to extinguish the fire and take that path to find Sinead.
Use the bracelet on the leprechaun. Take the rune from him and break the curse.
Put the rune on the canister, solve the puzzle fox and take the scroll inside to read. You’ll find an image fragment (1/2). Now go through the clearing on the left.
Check out the rocks at the end of the path and take the handle. Look at the bush next to the entrance and find matching berries and take them. Look at the wall on the left, use the pickax to get a token and a broken halberd.
Use the token on the ground to your right and fix the heart puzzle, then take the crystal (1/3). Go to the hidden gold, use the berries to convince the squirrel to give you the other fragment (2/2). Go to the tree and put both fragments here.
You’ll find another crystal (2/3). Put the handle on the halberd to fix it and use it to cut the roots over the pot of gold. Take the flower and the pot of gold. Look at the rock on the right and put the flower here. Match the flowers with the butterflies, by color.
Take the last crystal (3/3) and go to the cliff. Put them on the rock altar and the pot of gold here as well. Using the crystals you must direct the light through all of them and to the gold to break the curse.
Both Patrick and Liam fell in love with you, but you have to chose one of them. You return to your mother afterwards and help her getting healthy again. Your journey ends here unless you want to try the bonus chapters.
Wrapping up
I must confess I chose Liam for the adventure. I’m not a fancy Patrick material myself. Curious who did you pick and why, leave a comment below.
I’m happy I could help you with this quest and walk you through the story as we solved all the mysteries and puzzles. If you want more games like this one you can check out my other walkthroughs:
- Before You Go Full Walkthrough
- Find Joe Lumen – Part 1 Full Walkthrough
- Mark of Fate – Full Walkthrough
- Lost Lands 10 Chapter 1 – The Manor Walkthrough

Aylin is a content creator and co-founder of App Amped. She was a huge Tomb Raider fan before moving on to more casual titles. She spent way too much time tending for her FarmVille farm as well as playing text-based browser games. Now she plays and writes about mobile games, creating in-depth walkthroughs and useful guides.