

Here I am with another walkthrough for Tricky Doors Episode 6 as we’re going to explore the Museum and find all the clues to help us get out.
Last time we met to play Tricky Doors was in my walkthrough for the Amusement park, level 5 where I showed you the way out and we had fun in the process.
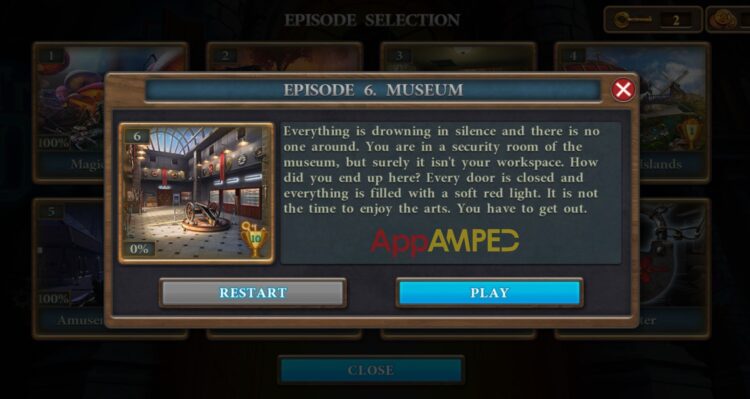
Follow the walkthrough bellow to get out of the museum. I made sure to give you all the answers and clues you need to finish it.
Tricky Doors – Level 6: Museum Full Walkthrough
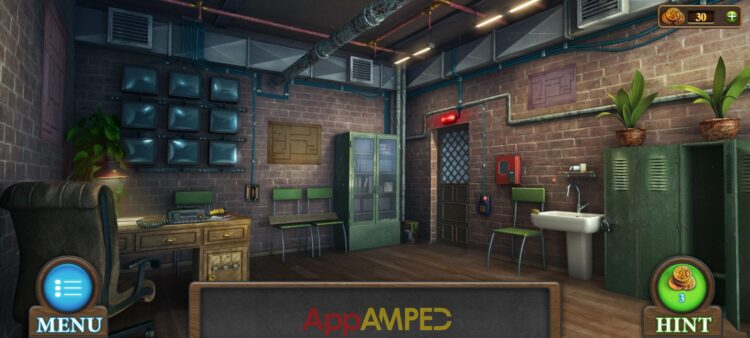
- On the desk to your left there’s a screwdriver, a flashlight and a paper clip.
- On the chairs next to the green cabinet, there’s a plank (1/6)
- Check the trash can near the green cabinet and take the cloth.
- You’ll find another plank (2/6) inside the locker room cabinet, middle door.
- Check out the lock on the closed locker cabinet.
- Insert the screwdriver inside and use the clip to move the pins.
- You need to tap on them in the right order, but that’s different for every players.
- Take some notes of the pins that stay up so you don’t forget by the end of it.
- Look inside and take the key card, a handle, and a hammer.
- Use the handle to turn on the CCTV screens.
- The 3rd, 4th, 6th and 8th will light up.
- Go at the Exit door on the right and press the same buttons.
- Once the light goes green use the key card to open the unlocked door.

- Check the cannon in front and take the carved decor (1/2)
- Use the screwdriver to unscrew the ramrod on top of the canon.
- Take a canon ball from under the canon and a plank (3/6)
- Look around the room and notice the poster next to the door on the other side.
- It says the radio station 103.4 FM. It’s different from player to player.
- Another plank (4/6) is between the closest glass show cases to the right.
- Count the weapons in each showcase:
- 4 guns – 2 axes – 5 swords
- Now go back to the first room check the desk drawer, and enter that code 425.
- Take the knob (1/4) and the gunpowder.
- Go to the radio on the desk and switch to the 103.4 FM channel (or the channel you found) by turning the black knob.
- A little door will open to give you a second carved decor (2/2)
- You can go back to the room with the canon, and tap the showcase on the left.
- The two carved decor pieces will fit right in.
- Open the puzzle and solve it, making sure the hands leave a bit of space between them so the lights turn on.
- When one hand ends up, the other one needs to be down.
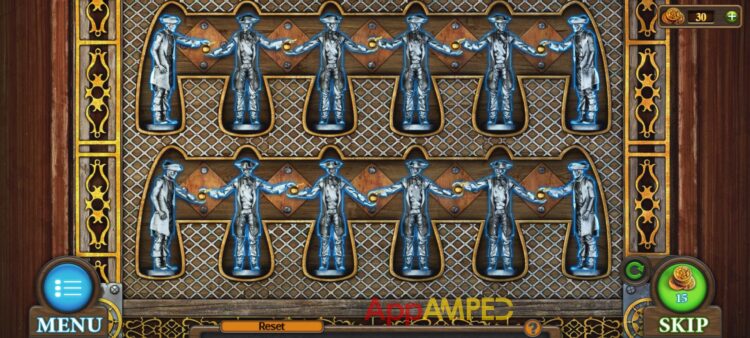
- Once the case opens take the Oiler.
- Go to the canon:
- Put the gunpowder in.
- Use the ramrod on it.
- Insert the canon ball.
- Shove it with the ramrod in again.
- Put the cloth on the ramrod.
- Put the oil on the ramrod to get a torch.
- Now go to the red light bulb on the right wall and use the hammer to smash it.
- Put the torch on the electric sparks.
- Now take the burning torch to the canon and lit it.
- It will smash the doors on the other side.
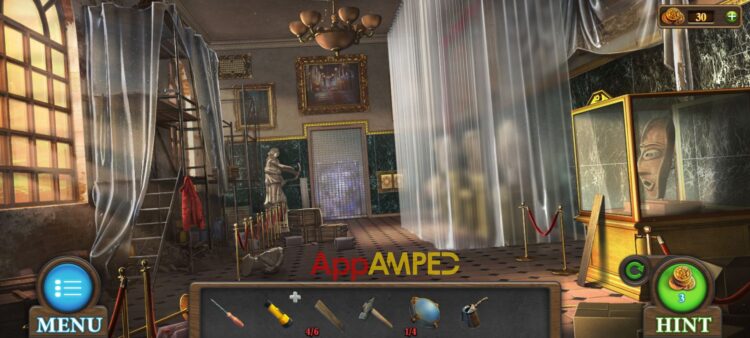
- You’ll find another plank (5/6) as you enter on the showcase.
- And the last plank (6/6) by the statue, leaning on the wall.
- There’s a statue head (1/3) on the floor.
- Check the red jacket on the left.
- Put some oil on the zipper to unstuck it.
- Open it to get a key.
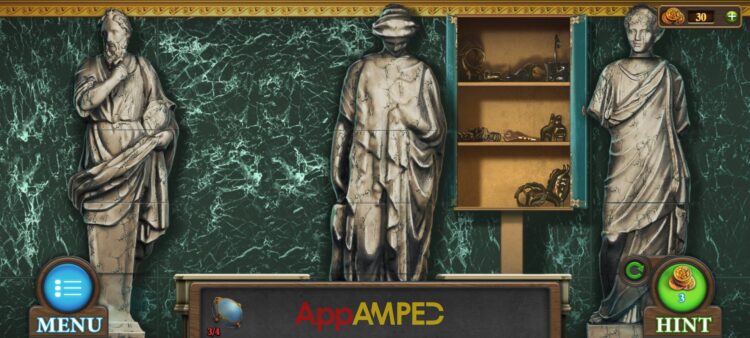
- Check the statue on the other side.
- Use the hammer to break what was recently put there.
- Take the key from there and go back to the previous room.
- With the grey key you can open the chest by the door.
- Take a statue head (2/3) from inside and a knob (2/4)
- Now go to the first room and use the green key on the cabinet here.
- You’ll find some batteries inside and you’ll see some tapes you need to put in order.
- 1. Hundred Years’ War
- 2. American Revolutionary War
- 3. Napoleonic Wars
- 4. American Civil War
- 5. World War 1
- 6. World War 2
- Inside the box you’ll find another knob (3/4)
- Put the batteries inside the flashlight.
- Go to the last room now and put all the planks you found on the scaffolding behind the statue.
- You’ll have to solve the plank puzzle by filling all the holes.
Note: Unfortunately, each plank puzzle is different from player to player. So I’m not able to help you by telling you the exact order of the planks and how to use them. Hopefully you’ll manage doing it on your own.
- Once you manage to make the entire scaffolding puzzle, you’ll be able to reach the golden vent above it.
- Use the screwdriver to open it.
- Then use the flashlight to see inside and take the statue head (3/3)
- Now move the plastic curtains and peek behind.
- Use the heads to put the statues back together.
- You’ll find a golden key in the cabinet that opens once you’re done.
- Use it to open the showcase with the big mask inside and take it, and take the tap flywheel as well.
- Go to the first room and use the tap on the sink, put the sponge in the sink and turn on the water.
- Take the wet sponge and use it on the mask to read the code on it. It says 2674.
- Go to the red box on the wall and put in that code.
- Open it and take the last knob (4/4)
- In the last room, by the doors on the other side there’s a golden panel.
- Open it and put the knobs in here to solve the puzzle.
- Move all the symbols around to match the picture behind.

- After you solve this last puzzle the door will open and you’ll be able to get out.
Wrapping up
Congrats on finishing yet another episode of Tricky Doors and finding your way out of the Museum. Now you can move on to the next level.
My walkthrough for level 7 Tricky Doors Hospital is going to come to your aid soon. Stay tuned for when I’ll be ready to post it.

Aylin is a content creator and co-founder of App Amped. She was a huge Tomb Raider fan before moving on to more casual titles. She spent way too much time tending for her FarmVille farm as well as playing text-based browser games. Now she plays and writes about mobile games, creating in-depth walkthroughs and useful guides.