This walkthrough for Cursed Realm Level 1 has all your answers. Buckle up as we embark in a spooky adventure against the witches.
When the town you’re in becomes frozen, except for you and your uncle, you need to find answers and find a way to fix it.
Follow my lead as I help you find all the clues for this mysterious story. In the walkthrough below you’l get all the answers.
Cursed Realm Level 1 Walkthrough

You’re going to try and talk with your sick uncle. Help him out first and get used to how the game works for starters.
Objective – Give Water to Uncle
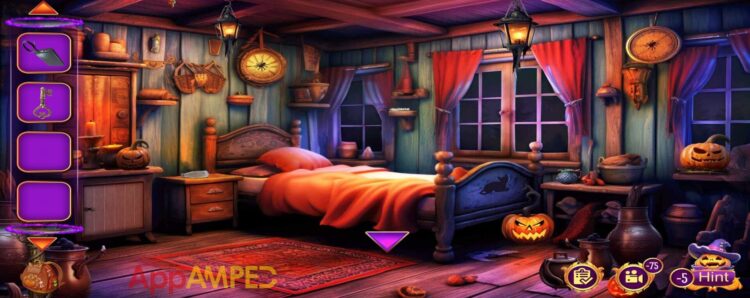
- The water glass is near the pumpkin head on the nightstand, but it’s empty.
- Tap on it to get it into your inventory and the water jug next to the nightstand (I’d say it’s more of a kettle).
- You have a choice of what kind of water to give to your uncle, pick Hot water.
- Tap on the right arrow to go to the kitchen.

- Tap on the stove and drag the kettle from the inventory to the stove.
- Turn the stove on by turning the first nub on it.
- Now you can take the kettle back, tap on the glass, and drag the kettle to it to pour some hot water into the glass and take it by tapping on it.
- Go back to your uncle and give him warm water.
- He’ll give you the answers you need about what happened.
- Witches have stopped the flow of time and you are the only one that can stop them.
- He tells you where to find the prototype watch (in the drawer), locate your father’s time machine, and learn more about it by going back in time in 1980.
Objective – Get into the Secret Room
- Check out your uncle’s hand and take the key.
- Open the drawer of the nightstand and take the watch.
- He’ll explain how the watch works and you’ll need to find the power bank that’s by the window in the green box.
- Open the green box to get the power bank.
- A hand will show you a spot on the floor that you need to tap.
- Put the watch on your wrist and turn the face of it by tapping to travel back in time.

- Tap the nightstand and take the bottle.
- Look at the shelf between the windows, take the wick and the lighter.
- Take the water jug on the table at the end of the bed.
- Now tap the arrow at the bottom of the screen to go to the other side of the house.

- Right in front, next to the door, there’s a bookshelf.
- Tap on that and move the lower row of books to the side.
- There’s a keyhole where you can use the key, but it gets stuck.
- Now you can tap the arrow that leads up the stairs.

- Here you find a Hidden Objects Minigame that you need to solve, and all the objects you find will get in your backpack.
- Go to the keyhole and use the spider to get out the broken key.
- Check the door next to the bookcase to get to the kitchen.

- Take a look under the pots and pans and take the glove.
- On top of the shelves where the pots are you can find a bowl with wheat flour.
- On the far right, there are some spoons hanging there, take the metal spoon.
- On top of the oven, to the left of the pumpkin heads there’s a bowl you can take.
- In the cupboard under the window, there’s a gasoline tank.
- Open the oven doors to the firewood and pour some gasoline on.
- Light the fire with the lighter.
- Put the bowl over the stove and insert the metal spoon.
- Use the glove to get the molten liquid off the fire.
- Go to the counter on the left and set the wheat flour over it.
- Pour some water from the water jug and tap to make a dough.
- Put the broken key over it, then pour the molten liquid in the mold.
- Take the new key and use it on the keyhole in the bookcase.
- Now you can open a secret drawer and you need to solve the puzzle.
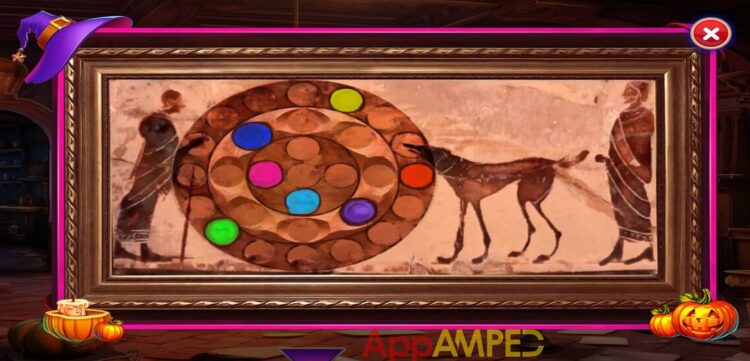
- Tap to rotate the discs, and move the horizontal bar by tapping the arrow buttons to arrange the colored balls as per the clue.
- You can find the clue on the right of the bookcase.

- Once the pattern is done the secret door will open.
- Get the bottle in your inventory, fill it with gasoline, and put the wick inside.
- Light it with your lighter to make a lamp.
- Now you can go inside the secret room and finish your objective.
Objective – Find the Clue for the Time Machine

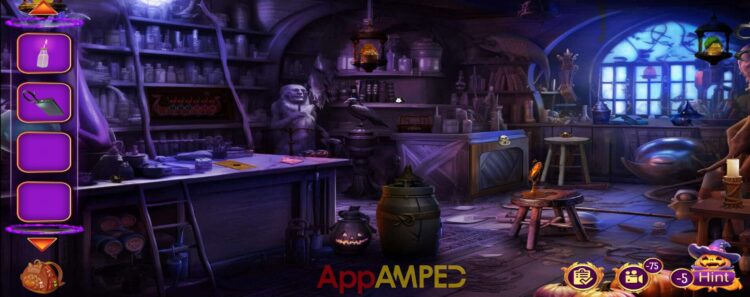
- Look at the stool in the middle of the room and set the lamp next to the orange gem.
- It will brighten up the room so you can look for more clues.
- Look at the crate in the back and take the weight stone.
- There’s another weight stone by the window.
- And another on the bookshelf next to the crow.
- The fourth weight stone is on the left on the counter.
- On the counter next to the scale there’s a book you should look through.
- S-shape symbol – 1
- Tree – 2
- Two whirl symbols – 3
- Fire – 4
- Go to the chest next to the crow and rotate the wheel till you find each symbol from the book in that order, then tap the select button.
- It will open and give you another weight stone.
- There’s a ship model on the shelves to the left.
- To solve the puzzle you need to arrange the tokens in the order shown above.
- Green – red – green – red – and so on
- Take the weight stone from here.
- Go to the scale and set all the weight stones you have in your inventory next to it.
- Drag and drop the weight stones to balance the scale.
- Cat: 2 kg
- Bat: 1 kg
- Spider: 1 kg
- Skull: 3 kg
- Bird: 4 kg
- Owl: 1 kg
- So Put the Bat + Spider + Bird on one side, and Cat + Skull + Owl on the other side.
- You’ll get a key that you can open the large chest.
- You’ll find a book inside that will help you more info about this time machine.
Wrapping up
In this Cursed Realm Level 1 walkthrough you found your way to the secret room and now there are more mysteries to solve.
Find more information about the time machine and follow the clues in Cursed Realm Level 2 walkthrough.

Aylin is a content creator and co-founder of App Amped. She was a huge Tomb Raider fan before moving on to more casual titles. She spent way too much time tending for her FarmVille farm as well as playing text-based browser games. Now she plays and writes about mobile games, creating in-depth walkthroughs and useful guides.

