
This walkthrough will give you all the answers you need to solve and open all the boxes in Boxes – Lost Fragments Chapter 1.
As a famous thief, your task takes you to a big and fancy house. Inside, you discover some puzzle boxes with a mysterious purpose. What was supposed to be a fast job slowly becomes a tough fight to escape.
You can find Boxes – Lost Fragments on Steam, and soon you’ll be able to download it on your phone.
I’ll jump right into the game when things become a bit harder and you’re left to solve them on your own. The game has a cool design and the puzzles are very fun to solve.
Boxes – Lost Fragments Chapter 1 Walkthrough
- You are given a mechanical key and a note.
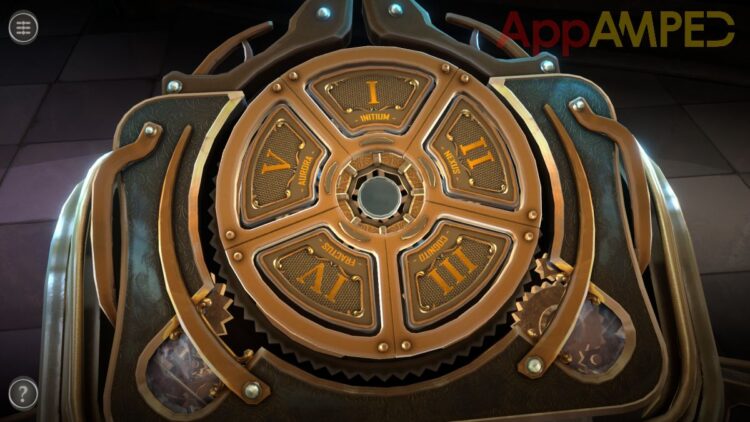
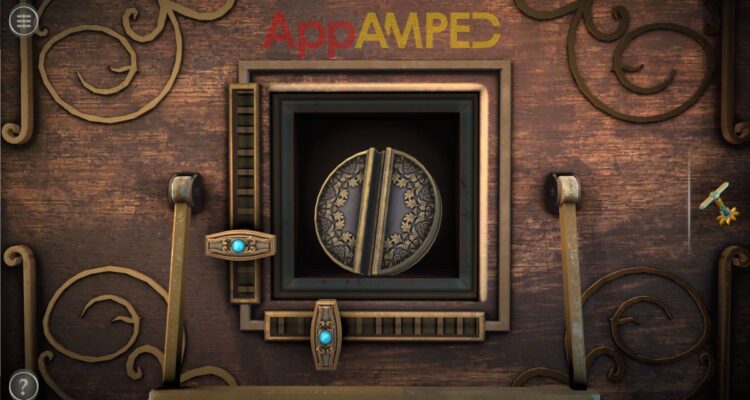
- To solve the first puzzle at the back of the dome you need to bring the two pieces together through the maze in the middle.
- Then you’ll get the lock where the mechanical key goes.
- Drag it to the hole and rotate it to unlock.
- Once you take the mask, a trap locks you inside and you need to explore to find your way out.
- Behind you where the knight armor is, there’s a blue box with a token inside.
- Take it to the device above and use it there to open a hidden area inside the wall.
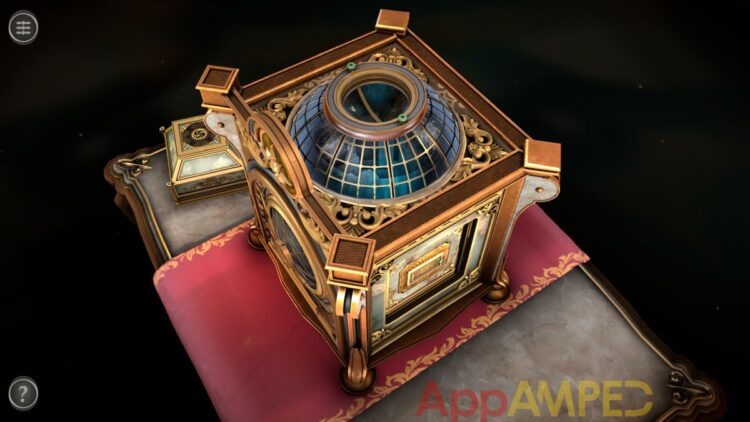
- Go there to discover the interesting box you need to solve.
- On one of the sides of the box there’s a small door that you can open by pulling on the blue lock.
- Rotate the two discs inside until you see the gap and level both of them so you can pull on the little nub behind them.
- It opens more to reveal another door.
- Pull the nub to the side and then the panel up and take the key.
- Use it in the padlock on the opposite side and take the mechanical disk you find inside.
- Take a closer look at the mechanical disk and rotate the two parts to open it up.

- Take it to the little box on the table and put it there.
- Open it further by draggin the lock to the side.
- Take the metal sphere from inside.
- Look at the top of the big box and put the metal sphere there.
- Rotate the half sphere so the metal one is inside.
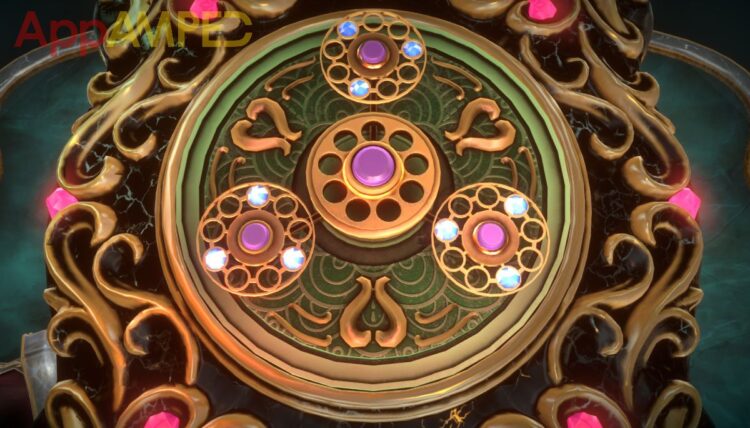
- The box will lit up and you can solve the side with the light up circles.
- Turn the two disks on the side to align the othe circles with the ones behind.
- When it’s done all the circles will light up more.
- Inside there’s another puzzle, the clue is behind if you turn the metal device to look.
- Pull all the symbols from the middle to the side, then push the middle button to turn them around.
- Whenever one symbol is in the right position, drag it back to the middle.
- Once it opens you’ll go through the door and find a statue holding a pendant.
- Move the two flowers, one to the left, the other to the right so they open up and you can take the strange compass.
- Go back until you can look at the box again an put the strange compass on the last side that hasn’t been explored yet, right in the middle where you can see the globe behind twirl.
- Position the globe so it centers the symbol on it within the whole of the compass.
- Take the bear sigil figure and it will take you back to the first room, where another door will open for you, so go through.
- Turn the box around until you see the see-through glass and the rotating disk.
- Press the button to stop the disk when it’s in this position.

- So you can take the mechanical wheel.
- In front of the box here, there’s a handle on the table.
- Pull it up to discover a hidden drawer.
- Open the little drawer and put the mechanical wheel on top.
- Turn the wheel to make the spikes go back and you can take the handle.
- Look through the books on the table and get the last book.
- Open it to get the handle inside.
- Look at the top of the box and rotate the cap underneath the blue cap until you see another handle and take it.
- Move to the opposite side of the see-through glass and pull down on the lever.
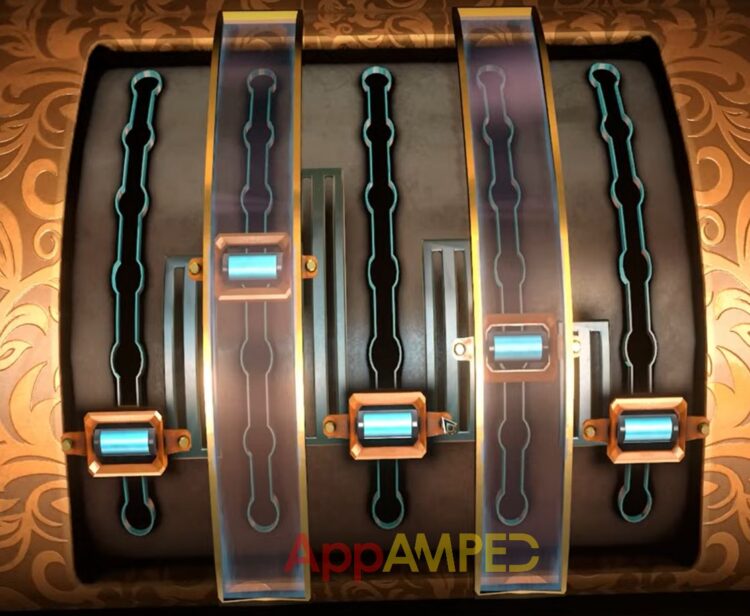
- Put the handles on the side and bottom and move them till you find the metal disk.
- Move to the left side of the see-through glass and rotate the two half circles from the top and the bottom to be able to open the two doors.
- Put the metal disk you found on the bottom circle and pull down the lever.
- Put the star handle on the table under this part of the box.
- Turn the handle until the holes align and you are able to get to the toy man.
- Turn him around and take the small key from his back.
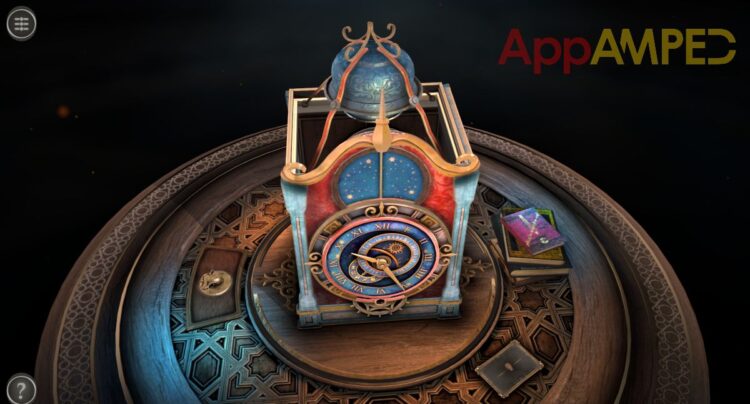
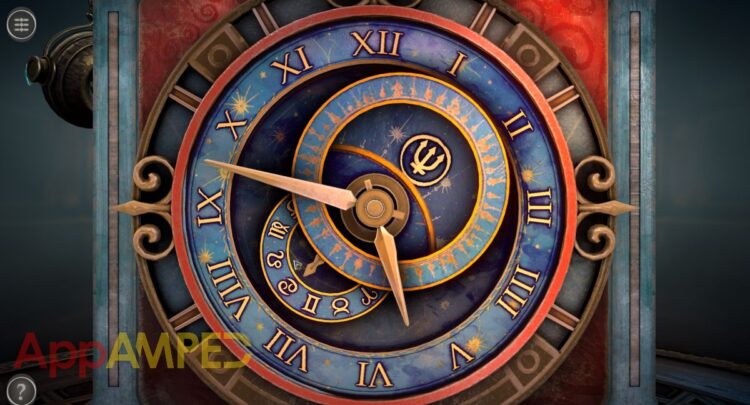
- Go to the clock on the box and insert the small key.
- Turn the key and it will activate the mechanism.
- As it keeps going in circles, try to catch all the gems on the sides and turn them so they are all blue.
- Once all are turned to blue you’ll find a spyglass to look through.
- Pull on the lever and move around to see all the symbols and the time on the ghost clock.
- 5:47
- The moving symbol is a trident.
- The symbol on the toy man is the zodiac symbol for cancer.
- Fix the clock to say 5:47 and pick the trident for the big symbol, and the cancer for the little one.
- You’ll find an ornate hourglass and the next door will open for you.
- You’ll be taken to the third box.
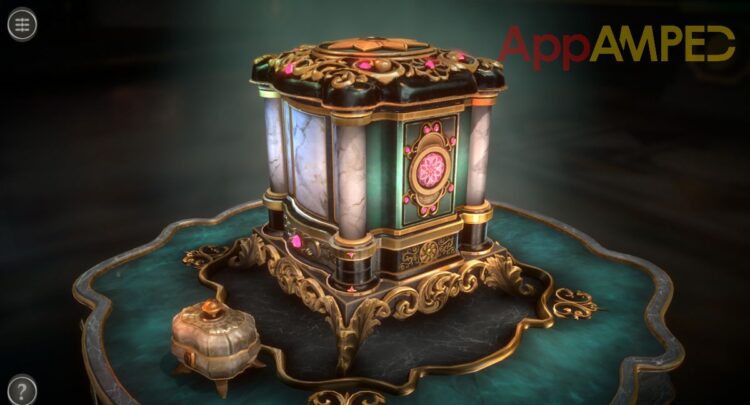
- Rotate the disk above the pink flower on this side and the pink nub to the right.
- On the side opposite this one pull up and down the two handles, drag the plates out of the way, and remove the last ones to the left and right to find a key.
- Use it on the little box on the table.
- After you open it you’ll find an ornate sphere.
- Get a closer look and move the big blue nobs on the sides to match the blue gems on top.
- If there’s no gem up, move the nob to the bottom, if there is one, move the nob on the top.
- Put the new tool on the area you first opened and turn the tool to open it.
- Once the flower is ready you’ll find a small shield.
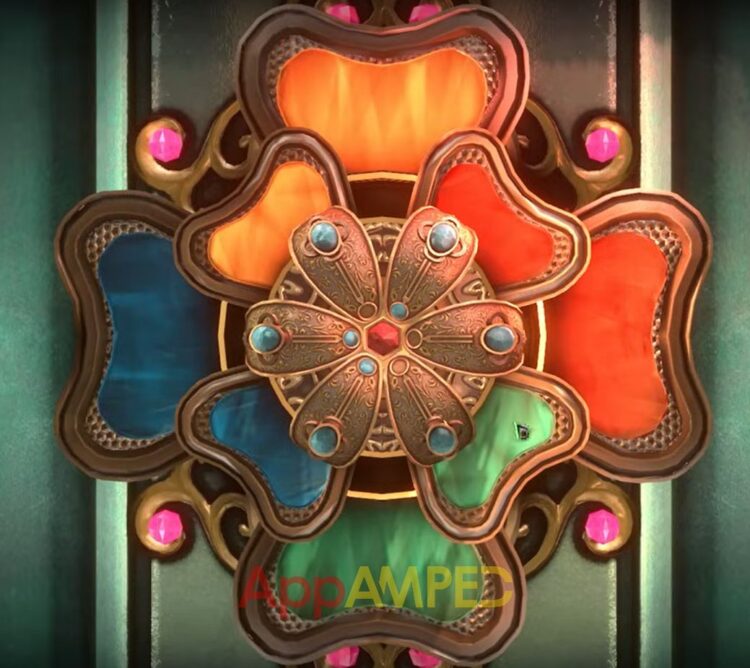
- Put it on top of the box and solve the next puzzle by turning the disks so the gems, when reunited in the middle, form a complete circle.
- Look at the columns on each side of the box.
- One of them, where you found the small shield has 2 marks.
- Take a closer look and rotate the two pieces to find two other marks and align all 4.
- Move the nob to the right and a drawer will open up.
- Take the mechanical lady bug from inside.
- Put it on top of the lid and all the sides will open up.
- To play this mini game you need to bring the lady bug to get the little owl and then get it to the end by twisting, turning, and pulling on the pieces with blue gems.
- Take the owl figurine at the end and you’ll be on your way to the next box.
- As you go to solve the 4th box, the metal octopus on this side of the box has one eye out.
- Pressing on it will give you a seahorse metal figure.
- The other octopus has an anchor if you press its eye.
- At the back of the box, there are two wing ornaments that you can pull up and find a clam shell.
- Use the anchor to open the glass box in front of the main chest.
- Take the model ship and use the clam shell on the front of the big chest.
- Take the pearl and insert it in the hole on the lid.
- Move the levers up and down until they all turn blue.
- As it opens you’ll see another note and a new mini game.
- Look at the model ship in your inventory and pull on the nub to extend the stand from the bottom.
- Put it on the tracks and you need to lead the ship to the middle where the hole is.
- Once you bring the ship to the middle by switching the tracks as it moves, a glass box will show up with a bigger ship inside.
- On the side, there’s a place where you can put the seahorse there.
- Pull on it and the wick will light up, causing the canons to shoot and break the glass.
- Pull down on the front of the boat to open up the door to go down below.
- You need to solve this mini-game you find below by catching the octopus so it can’t move and not be able to escape once it reaches the red pieces.
- Once you solved that, you’ll get a ship wheel that you can put it on the boat outside, as it was missing.
- Turning the wheel will reveal a prism and with that you’ll be sent outside again.
- Go to the knight’s armor and rotate it’s shield so it makes room for something in the middle.
- Add the bear figurine so the shield moves to the side.
- Open the chest part and slide the gear to the left.
- Look at the clock on the left wall, open the door, and insert the hourglass figurine.
- Go on the opposite wall and insert the owl figurine there.
- move the nubs left and right so they align with the other blue marks.
- Move the owl up and down to see where the marks are.
- Pull on the lever, and slide the nub on the table in front from right to left.
- Set the prism on the beam of light that appears.
- You just found another token.
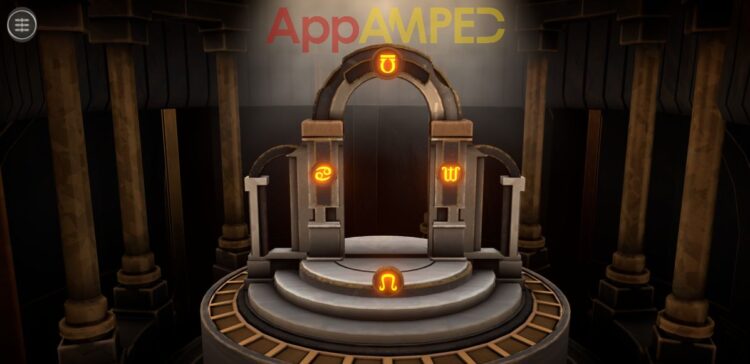
- Go to the altar behind and add the token to it.
- The platform you’re on will start moving up taking you to the next chapter.
Check out my video walkthrough of Boxes – Lost Fragments Chapter 1:
Wrapping up
Come back soon, as I’ll have more walkthrough articles published, covering the other chapters in the series.
Until then, make sure to check out my walkthroughs below for some other amazingly similar games: