
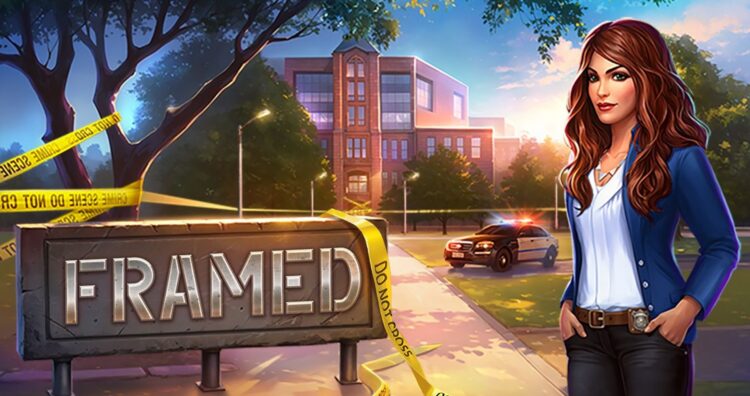
Here is another AE Mystery game walkthrough for Framed. I’ll help you discover all the mysteries and solve all the puzzles to discover the truth.
Adventure Escape takes the best of classic point and click adventure games that adults love and mixes it with the brain teasing game-play of modern escape games.
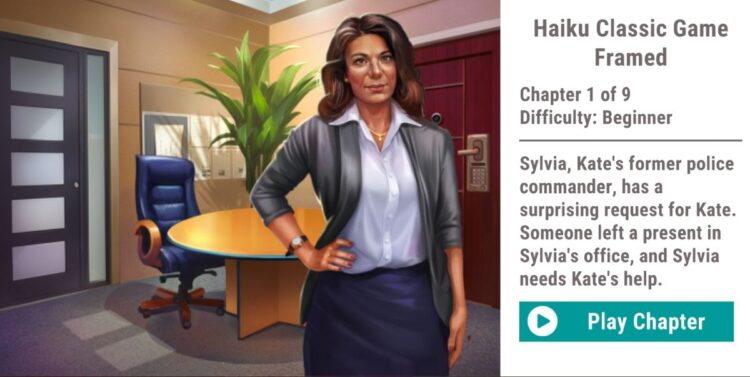
AE Mysteries Framed Walkthrough Chapter 1
Look through the room and open the box on the table. Take the dusting powder and use it on the lock on the door to find out the code: 8493
Get inside to examine the room and dead body.
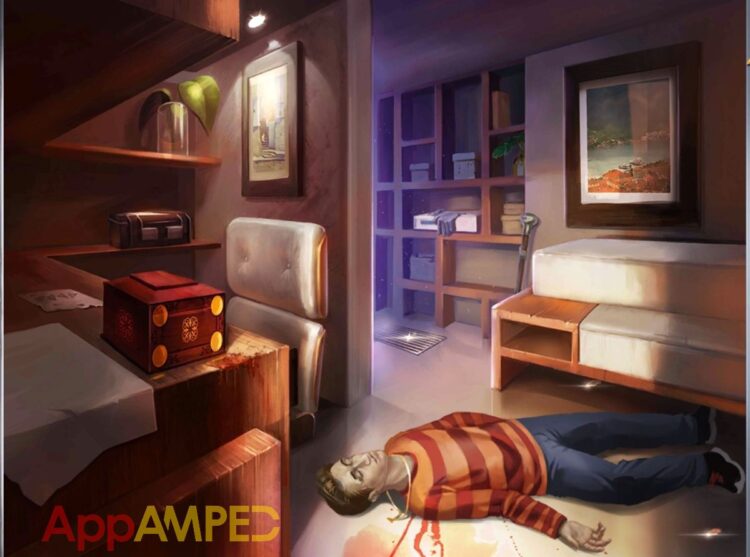
Next to the body there’s a piece of jewelry (1/3). On the table is a piece a paper with a drawing of some triangles. That’s the clue for the box next to it.
Inside you’ll find the murder weapon. Open the toolbox on the desk and take the tweezers. Use them to get another piece of jewelry (2/3) stuck in the grate on the ground.
Take the cane under the painting and use it to grab another piece of jewelry (3/3) from under the bench.
There are some gloves on the shelves that you can use to look at the body closer. Use the 3 pieces of jewelry to reassemble the necklace puzzle.
Move the painting to the side to reveal a hidden safe. Open the box by dragging the ball to the hole like in my video below:
AE Mysteries Framed Walkthrough Chapter 2
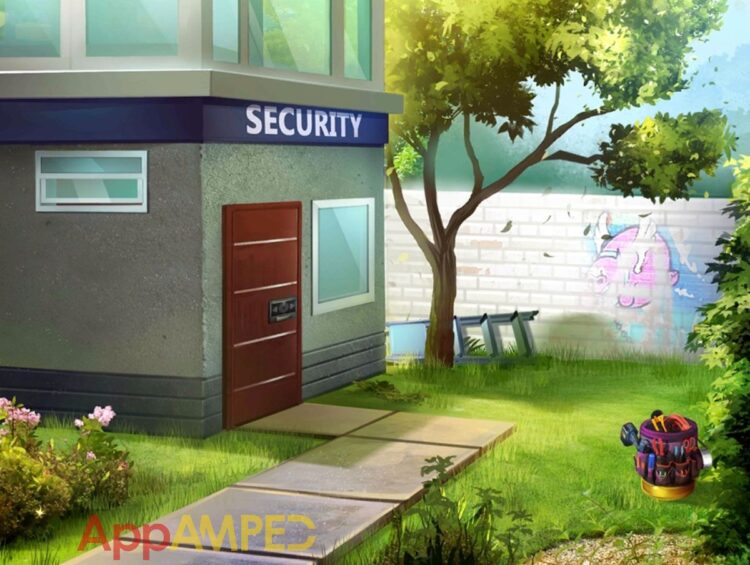
Check out the toolbox on the ground and take the utility knife. Take the ladder behind the tree, and use it to reach the branch and make it fall. Take the ladder back and use the knife to cut off a piece of branch.
Put the ladder next to the window on the side and use the branch to pry it open. Now you can get inside and look for the office key.
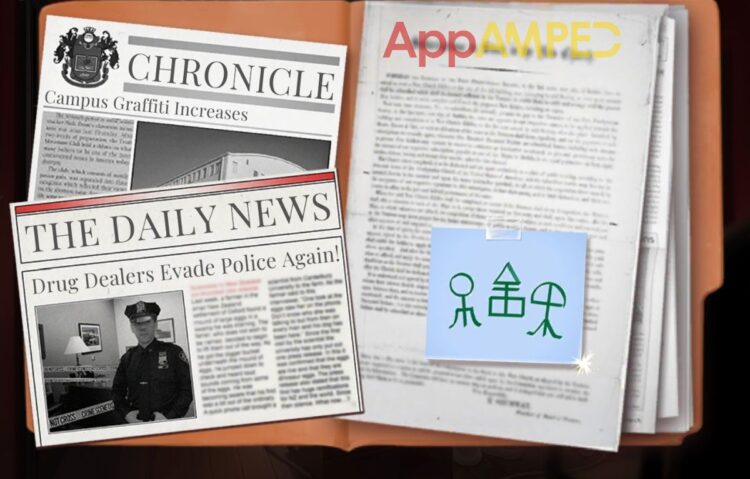
There’s a key in the drawer, you can take it and open it to get the key card. Take the extension cord from the floor and look at the file on the desk. Remember the symbols on the blue note.
Take a magnet from the board and use the key to open the glass cabinet. Take the key card printer and the cord. Now put the printer on the desk, then add the cord, then plug it in with the extension cord.
Now put the key card on the desk, use the magnet to wipe the card, then add it to the printer. Now you need the symbols on the blue note.
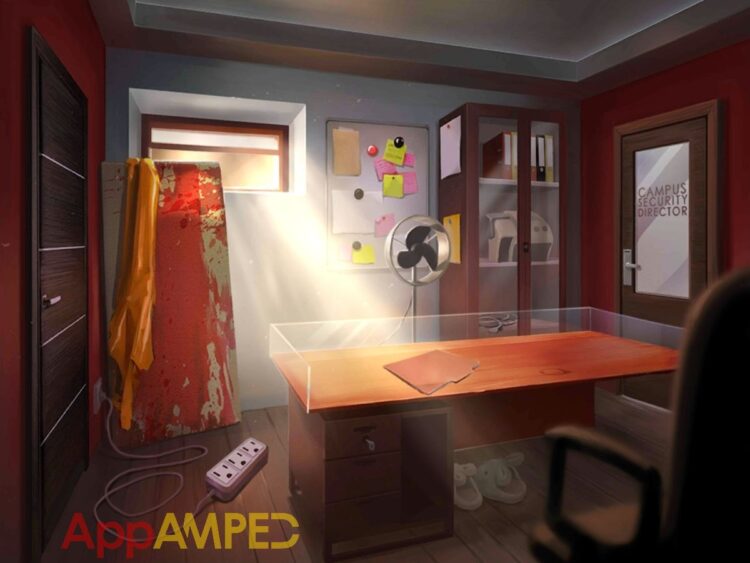
Now use the key card you made to open the door to the director. Go inside to look for Sylvia’s key.
Take the water bottle, open the drawer and take the glue, look inside the box by the desk and take the ruler. Take the magnifying glass from the boxes to the left and use it to look at the photo of Bill with his daughter: Congrats 5/20
Look at the shapes under the photo and notice each one. Then try to open the drawer on the left by using those shapes: 2 vertical lines – 3 circles – pentagon – triangle
Put the water in the kettle and boil it. Take the envelope and try to open it above the steam. Open it using the ruler. Now that you know what’s inside use the glue to close the envelope and put it back.
Take the note that falls on the ground and notice the year 2014. Now go to the safe behind the flower pot and enter those dates: 05202014
Pair up the keys so you are left with Sylvia’s key only.
AE Mysteries Framed Walkthrough Chapter 3
Go inside professor Lansky’s office and look around.
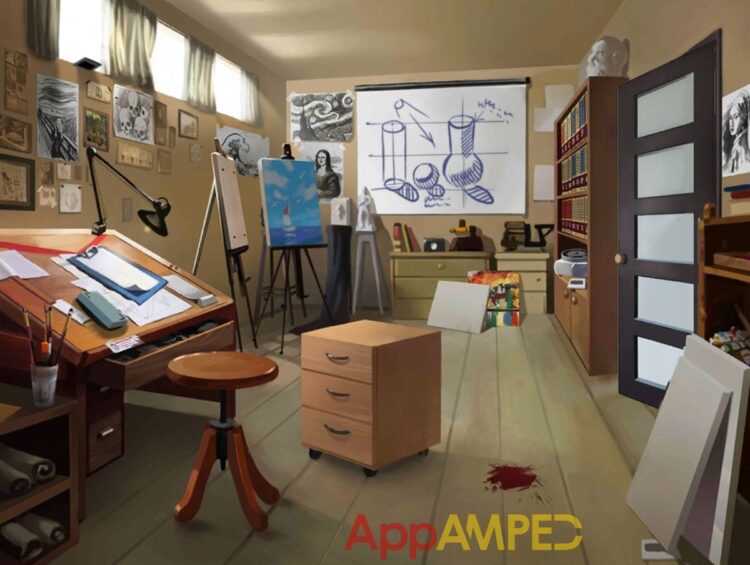
Take the slide (1/4) on the floor to the right, remove the painting and take the easel, and the eraser from the drawing table to the left.
Look at the file on the table and take the slide (2/4). Look at the shelf under the books and take the slide projector and the slide (3/4). The last slide (4/4) is on the first window to the left.
Put the projector on the cabinet and open the drawer, then add all the slides. Use the eraser to clean the white board, and use the easel to pull the drapes so it’s not bright anymore.
Go out in the hallway, look at the clock, it’s 08.27 and use those numbers to open the lock underneath. Take the screwdriver and use it to get the light bulb from the flashlight inside.
Now go back inside, fix the projector with the new light bulb and focus the lens so you are able to see the slides.
Take notes of all the painting showing: waves, castle, skulls, screaming man. Now look at the drawings on the wall and note down each first letter of the names written on only those drawings: HVCM
Go to the books on the shelves and tap those letters in that order. As you open a secret passage you realize you need some light. Take the light bulb from the projector and go out in the hallway, put it back on the flashlight and take it.
Now you can go down the secret passage and solve the maze so you don’t get lost.
Now that you found Lansky you should take a look around and see what else he’s hiding. You’ll need to find all the jewelry pieces around.
One piece is right next to him on the couch, another piece is on the bottom left corner. There’s one piece under the table in front of him, another in the bottom right corner, another on on the easel on the right, and another one to the left of the easel but lower.
AE Mysteries Framed Walkthrough Chapter 4

Look around the lobby and take the 3 transparent sheets, yellow, blue, and pink. Open the cupboard and take the milk, then the drawer and get the sugar. Take the pitcher from the top cupboard, and the coffee grinder.
Fill the pitcher with water from the water dispenser, then talk to the secretary. She’ll give you some coffee beans. Look at the coffee machine and put all the ingredients on the table.
To make exactly 6 ounces of coffee you need to grind the coffee beans first, and put it in the coffee machine. Pour some water in there and start the machine.
Now pour from the 12 ounces into the 5 ounces. Then the 5 ounces pour it in the 8 ounces glass. Pour again from the 12 into the 5 ounces, then from the 5 ounces glass pour into the 8 ounces so you are left with 2 ounces in the 5 one.
Pour the 2 into the 12 ounces (so now you are left with 4 ounces in the big glass). Pour from the 8 to the 5 so now you have 5, 3, 4. Pour the 5 into the 12 (you got 0, 3, 9). Put from the 8 to the 5, so you have 3, 0, 9. Now put from the big one to the 8 (3, 8, 1) and lastly, put from the 8 to the 5 and finally get 5, 6, 1.
Now put some milk and sugar in the coffee and take it to the secretary to find out which one is Caesar’s room. It looks like Caesar has a talking bubble symbol.
Look at the coffee table and put the transparent sheets over the graphic. Align the yellow one so that the number 817 is on the 8th row and 17 column.
Then find the common symbol from the pink sheet to align with the yellow sheet (the little compass symbol). Next find the symbol the pink sheet has in common with the blue sheet (2 people).
Now you can look for the talking bubble and see the room it is at: 315. Take the elevator to 3rd floor and look at the no. 15 door. The code for the door is downstairs in the lobby.
Look at the note board to find a clue, then look at the drawings on the wall and count the triangles in each drawing: 3689
That’s the code to Caesar’s room, so go inside to find more clues about this.
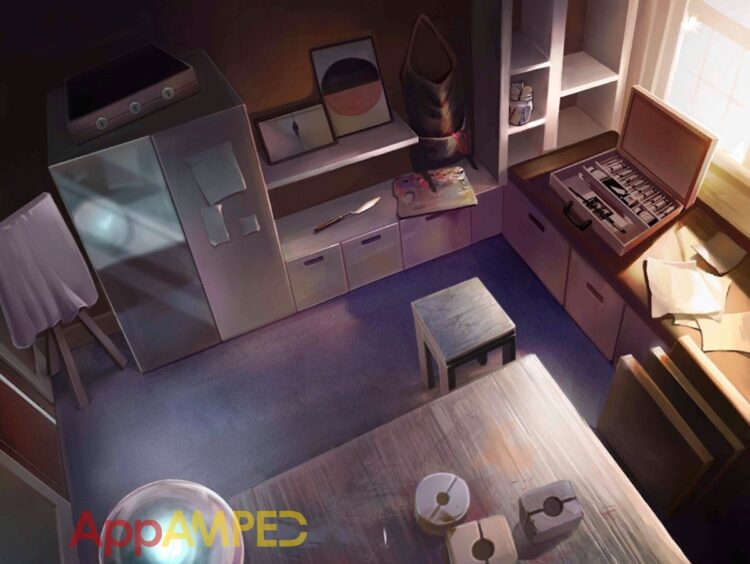
Take the palette knife from the counter and the stool. Open the drawer from under the painting case and take the heat gun. On the shelf in the corner there are Popsicle sticks, and in the cupboard under the apron is a mixing bowl. Take the key with a red ribbon from the apron.
Open the closet and use the knife to open the sole of the shoes and get the key. Check out the table in front of you and put the mixing bowl, the sticks, and the heat gun on the table.
Put some water in the empty bowl, then some plaster from the bag. Mix with a stick and pour into each mold. Use the chisel to open the molds then the heat gun to get the key.
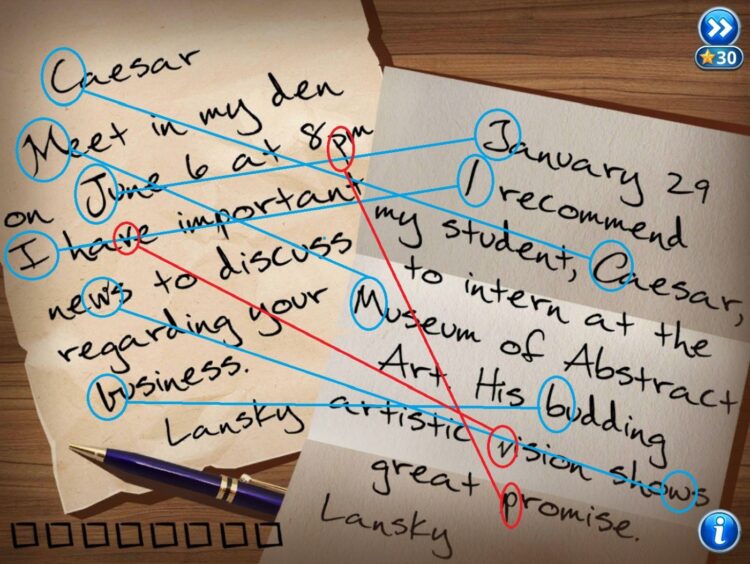
Put the chair in front of the closet and reach the case on the top, use all 3 keys on the case. Now read the letter and find the differences between the two.
You’re now ready to unlock another chapter and find more clues to help the investigation and let them know Sylvia is innocent.
To be continued…

Aylin is a content creator and co-founder of App Amped. She was a huge Tomb Raider fan before moving on to more casual titles. She spent way too much time tending for her FarmVille farm as well as playing text-based browser games. Now she plays and writes about mobile games, creating in-depth walkthroughs and useful guides.