
Time for another walkthrough on 3D Escape Room Detective Story where I’ll be helping you out solving clues for another interesting case.
After you just solved the last murder case at Tulip Inn, a reporter gets in contact with you and you ask him about Mr. Churchill’s Piano Teacher investigation.
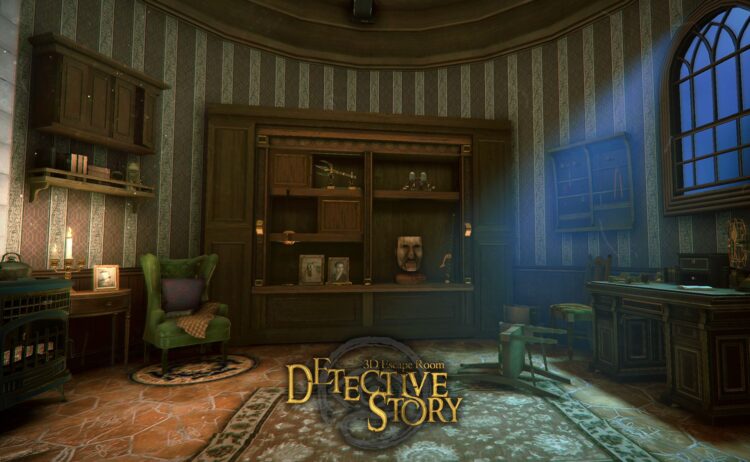
You’ll head over to the piano teacher’s house to look for more information. And this is how you’re starting your next detective story. Follow the clues to solve the mystery.
3D Escape Room – Detective Story Walkthrough – Mr. Churchill’s Piano Teacher

- Go to the cabinet near the door in the front of the room and open that box by pushing the button.
- Take the metal spiral decoration from inside.
- Zoom back out and tap on the decoration on the coffee table.
- Put the metal spiral decoration on top of it and watch it open.
- Check all the sides and remake the butterfly puzzles.
- There are three that are not right:
- A green one with circle pieces that you turn around.
- A blue one with square pieces that you have to turn by using the red buttons.
- And another one that you have to change its color into pink by turning the 2 screws.
- As the device opens, you can take the key and use it on the door.
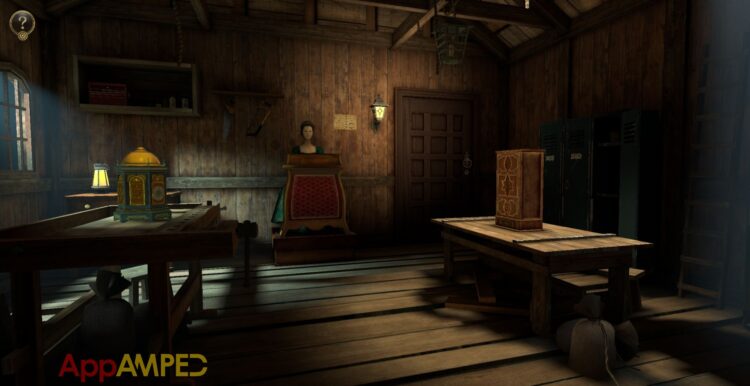
- There are two boxes, one on each table, and a safe on the right.
- Look at the wooden shape on top of the safe and rotate them till you get a 4 digit number: 8612
- Now try these numbers on the safe’s lock.
- Once it opens you can take a golden metal decoration and a password cylinder.
- Check out the box on the left table and put the golden metal decoration on top of it.
- Rotate the piece under the metal decoration to match the red arrows.
- The top will open and give you a decorative small cylinder with the number VI on.
- Put it on the missing part on this decorative box and screw it in.
- Another part will open up and reveal a puzzle after you pull on the corner pieces that keep it locked.
- If you move the right nub down, the red parts will complete the third row to say LIFE.
- Look at the password cylinder and write that word with the middle letters.
- Pull down on the button that pops up, then the remaining piece to the right and get the carving inside.
- Turn the decorative box around, find the spot where a carving is missing, and put it there.
- Look around the decorative box and find all the zodiac elements:
- Aries is all the way at the top ♈︎
- Virgo on the puzzle with the LIFE word ♍︎
- Sagitarius on the clock part next ♐︎
- And lastly Leo on the are behind the door of the puzzle that just opened ♌︎
- Now pull the little doors open to the side and take the pointer and pull down on the lever behind it.
- The new puzzle you need to match 3 of the same symbols.
- A3+B1+B2
- A2+B3+C1
- C2+C3+D2
- D1+D3+F1
- E1+E3+F2
- E2+F3+A1
- Once you open that you’ll be given a fan-shaped metal piece.
- Open it more in your inventory to get a circular metal piece.
- Go to the clock side of this decorative box and put it there then add the pointer.
- Move it to VI and it will open up, pull the circular piece down and you”l see some butterflies on the side.
- Behind the wooden mannequin in the back there’s a poster of how the butterflies should be positioned.

- Position all of them to be straight and in line with others by pulling down on the little nub that turns them until they are straight up.
- Take the key and use it to open the drawer in the safe.
- You’ll find a sheet music inside and go to the mannequin and set it in front of her on the table then pull it down.
- On her arms there’s a pattern you need to solve, put all the red stripes in a line by moving the hook and rotating them.
- Her left arm was a bit harder for me as there were two wheels moving them.
- I managed to get them by focusing on having the red spots in a zig-zag pattern before putting it in place.
- But now you’ll get another puzzle and there’s a cross star carving on the left.
- Take it to the other decorative box on the table to the right.
- Put it in the top area of the box, turn it to fit straight up, and unite the other two stars.
- As the box becomes a castle of some sort press the highest towers down.
- Face the pointy roofs with the golden decoration forward by rotating them and moving the sword to the left and right to synchronize different roofs at a time.
- Tap the sword when you’re done and take the golden spire model when the roof opens up.
- On the left side of the castle there’s a golden decoration missing, put the spire model there.
- Fix the stained glass window to look like the one on the right by rotating the three circles to get the pieces in their place.
- Once you’re done you’ll find a key and use it on the door behind the mannequin.
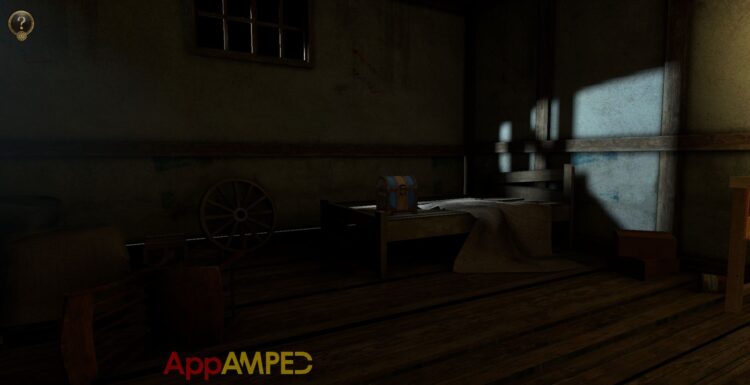
- You can easily open up the chest on the bed and take the crank lever.
- There’s a handle on the desk on the right and on the side of the desk you can insert the lever and rotate it.
- Take the wooden statue from inside the desk.
- Move over to the chest on the bed an put the handle on the left side and pull down.
- Pull the right handle as well so it opens further.
- Take the lighthouse model from inside and put it on the desk where the statue was.
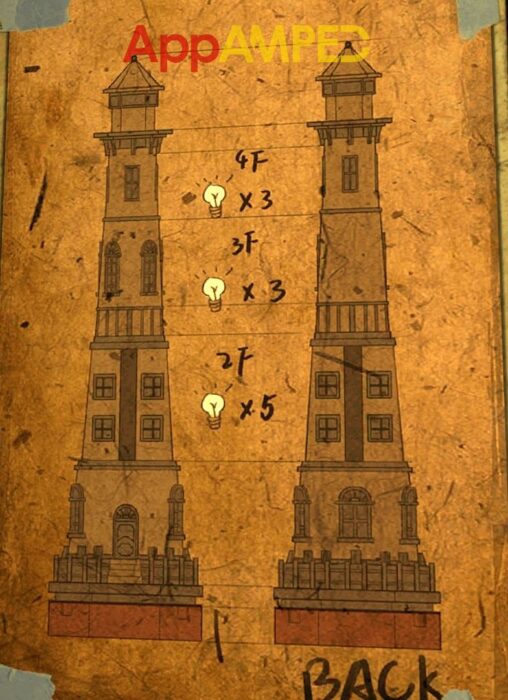
- Look at the poster on the wall behind the lighthouse and follow that pattern to rotate the pieces to light up the windows.
- 3 lights on 4th floor.
- 3 lights on the 3rd floor.
- 5 lights on the 2nd floor.
- The roof will open and give you a metal disc.
- Go back to the castle model and put the metal disc.
- Carefully turn the two metal discs so the rays gather inside and look like this in the end:

- Put the statue on the new spot and pull to turn her to face forward.
- Take the small spring and the gemstone slider.
- Put the gemstone slider on the puzzle on the mannequin desk and slide it around and take them into their spot.
- Turn the puzzle on the other side by using the wheel on the right.
- Help the sliders get the blue and green obstacles out of the way by going to the blue or green squares.
- Once you get bot sliders in their place put the small spring on the music box and turn it to make it sing.
- Move the blue button so it catches the notes on the music box as best as you can.
- The little ballerina needs to reach the other side.
- You’ll find a note saying “Memory will no longer be memory”
Wrapping up
It looks like this next case of Mr. Churchill’s Piano Teacher in today’s Detective Story walkthrough was a bit more difficult than the previous one.
The puzzles are as fun as before but somewhat harder to get them right. I’m looking forward to more levels and puzzles to solve.
Here’s where to find more walkthroughs for 3D Escape Room – Detective Story:

Aylin is a content creator and co-founder of App Amped. She was a huge Tomb Raider fan before moving on to more casual titles. She spent way too much time tending for her FarmVille farm as well as playing text-based browser games. Now she plays and writes about mobile games, creating in-depth walkthroughs and useful guides.